
Tiger Bread Recipe (Dutch Crunch Bread)

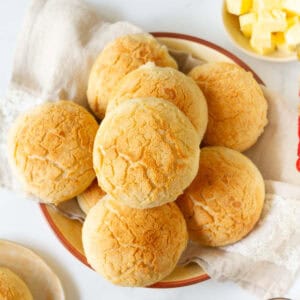
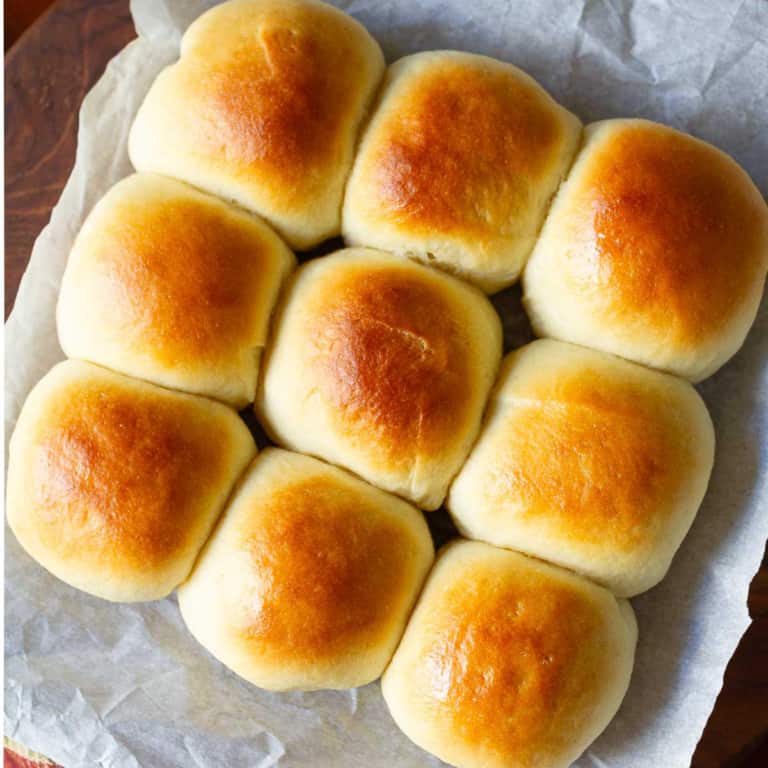
This tiger bread recipe makes wonderfully soft, fluffy rolls with the famous crackly topping that Dutch crunch bread is known for. Whether you bake individual rolls or one large loaf, you’ll get that crisp golden crust and light, airy crumb every time.
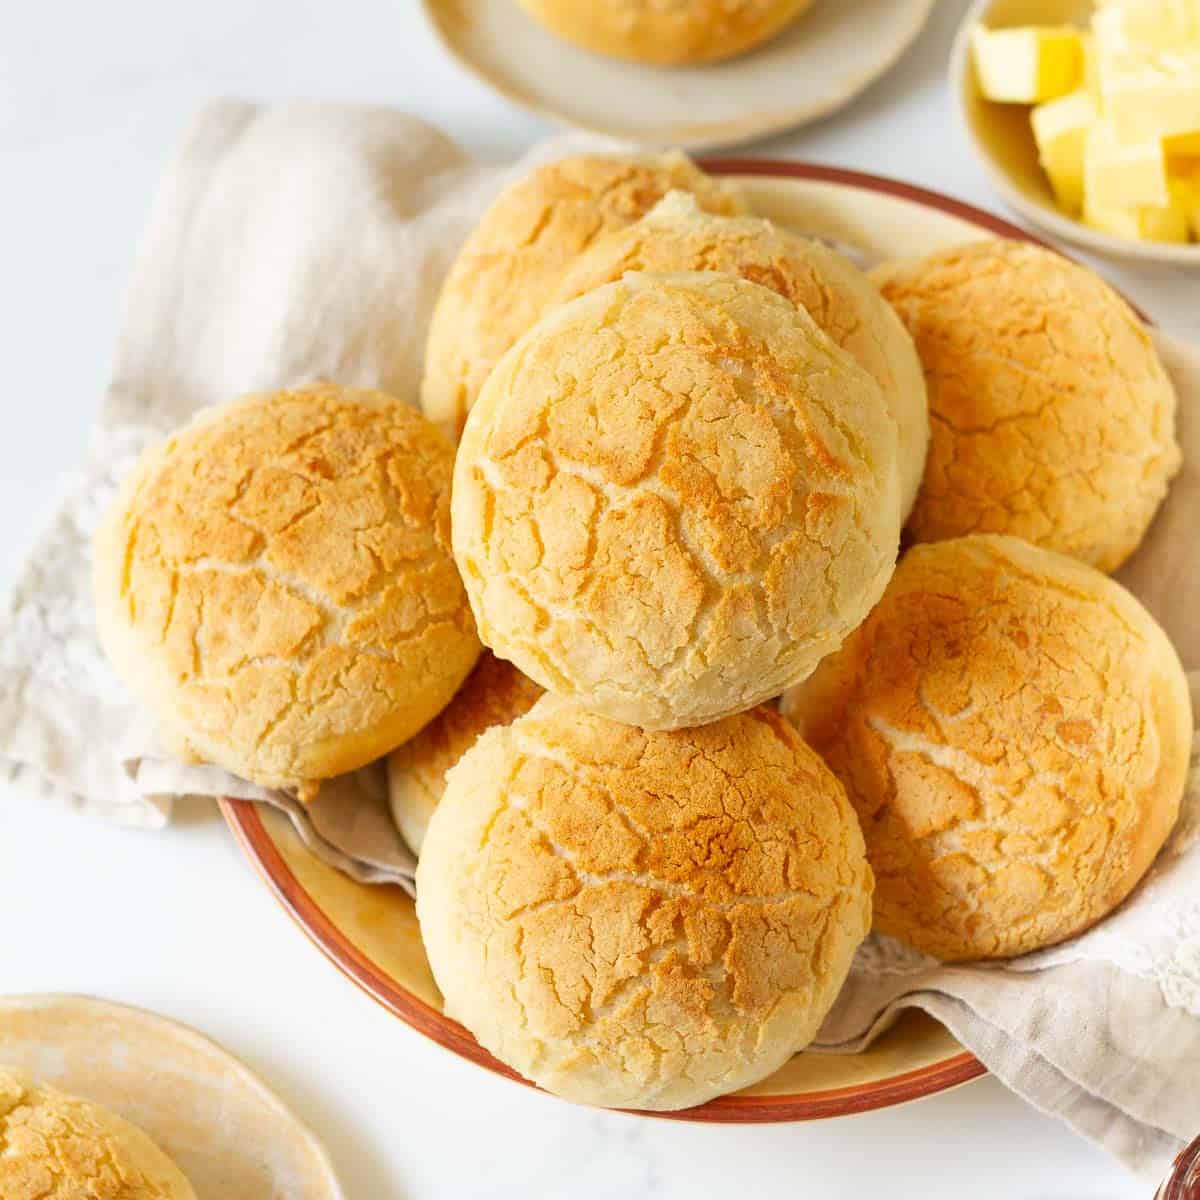
Also known as tijgerbrood or Tijgerbol, this bread has been enjoyed in the Netherlands for generations. You'll also hear it called giraffe bread, thanks to its crackled crust that looks more like giraffe spots than tiger stripes!
The beautiful crackled topping comes from a simple rice flour paste that’s spread over the dough before baking. As the bread rises in the oven, the topping naturally splits into golden cracks while the inside stays soft and pillowy. Make individual rolls or a single large loaf; the dough works very well for both.
Jump toHideShow
Why You'll Love This Recipe
- Made with everyday pantry ingredients, the Dutch crunch bread recipe is so much easier than it looks.
- The recipe is approachable, reliable, and absolutely delicious! The rolls look wonderfully rustic, smell incredible, and taste even better.
- Bake it as a classic tiger bread loaf for slicing, or divide the dough into individual tiger bread rolls.
- The leftover rice paste can be used to top any homemade bread!
- It’s the best bread for sandwiches (try it with ham and cheese or veggies). You can even have it as lunch or dinner bread! The crackly crust gives the bread so much texture and flavor.
Reader Love ❤️

these tiger bread are so tasty! the kids love it! - Nancy
Love how the bread looks when it is finished baking! It definitely stands out from other breads and it is delicious too. This is the first time I have had tiger bread. It was fun to make and delicious. - Dawn
This bread was perfect and so easy to make! It turned out great! - Kayla
Recipe Ingredients
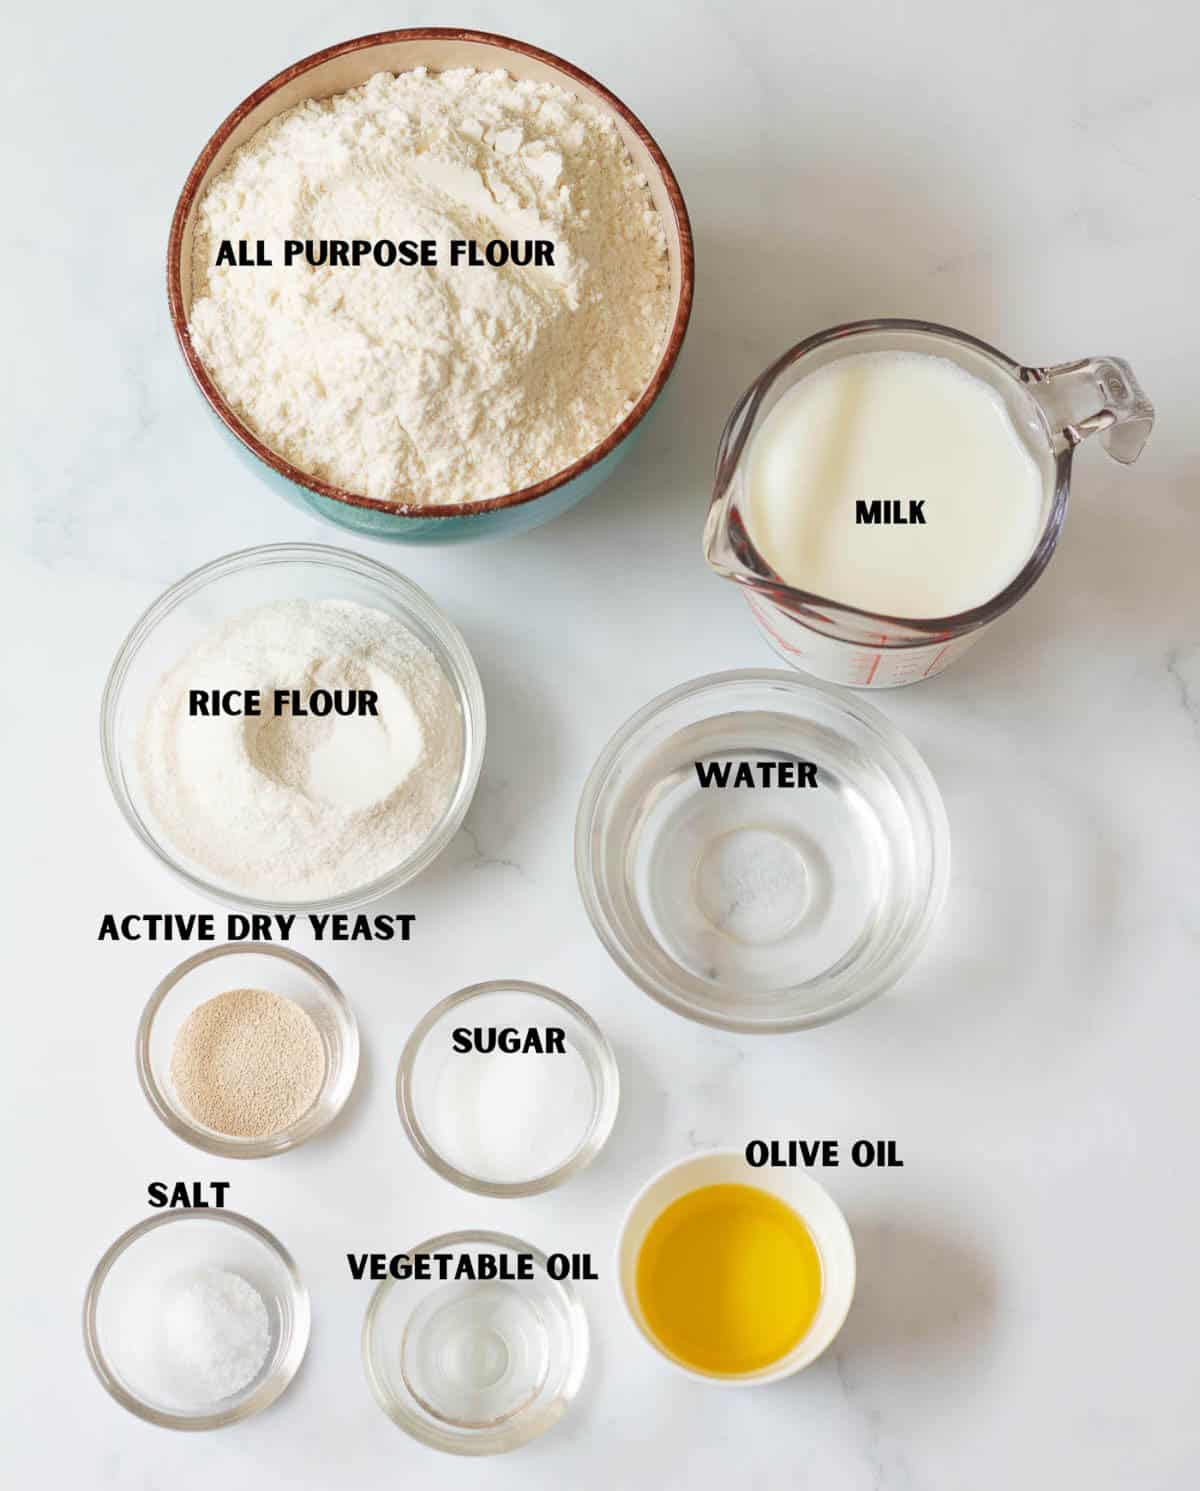
Flour: I used all-purpose flour for this tiger bread recipe. You can also use bread flour for a chewier texture. A mix of whole wheat flour and all-purpose flour also works.
Rice flour: This is the secret ingredient behind the famous crispy Dutch crunch topping.
Yeast: Both instant and active dry yeast work.
Milk: I used whole milk for a soft crumb. But you can use any plant-based milk like soy milk, oat milk, or almond milk. I would avoid low-fat milk.
Sugar: Fine granulated sugar or caster sugar works well here.
Oil: I use olive oil in the bread dough and vegetable oil in the rice flour topping. Sesame oil also works very well in the topping if you enjoy its nutty flavor.
Please see the recipe card below for full information about the ingredients and quantities.
How To Make Tiger Bread
Recipe Video
Step-By-Step Instructions
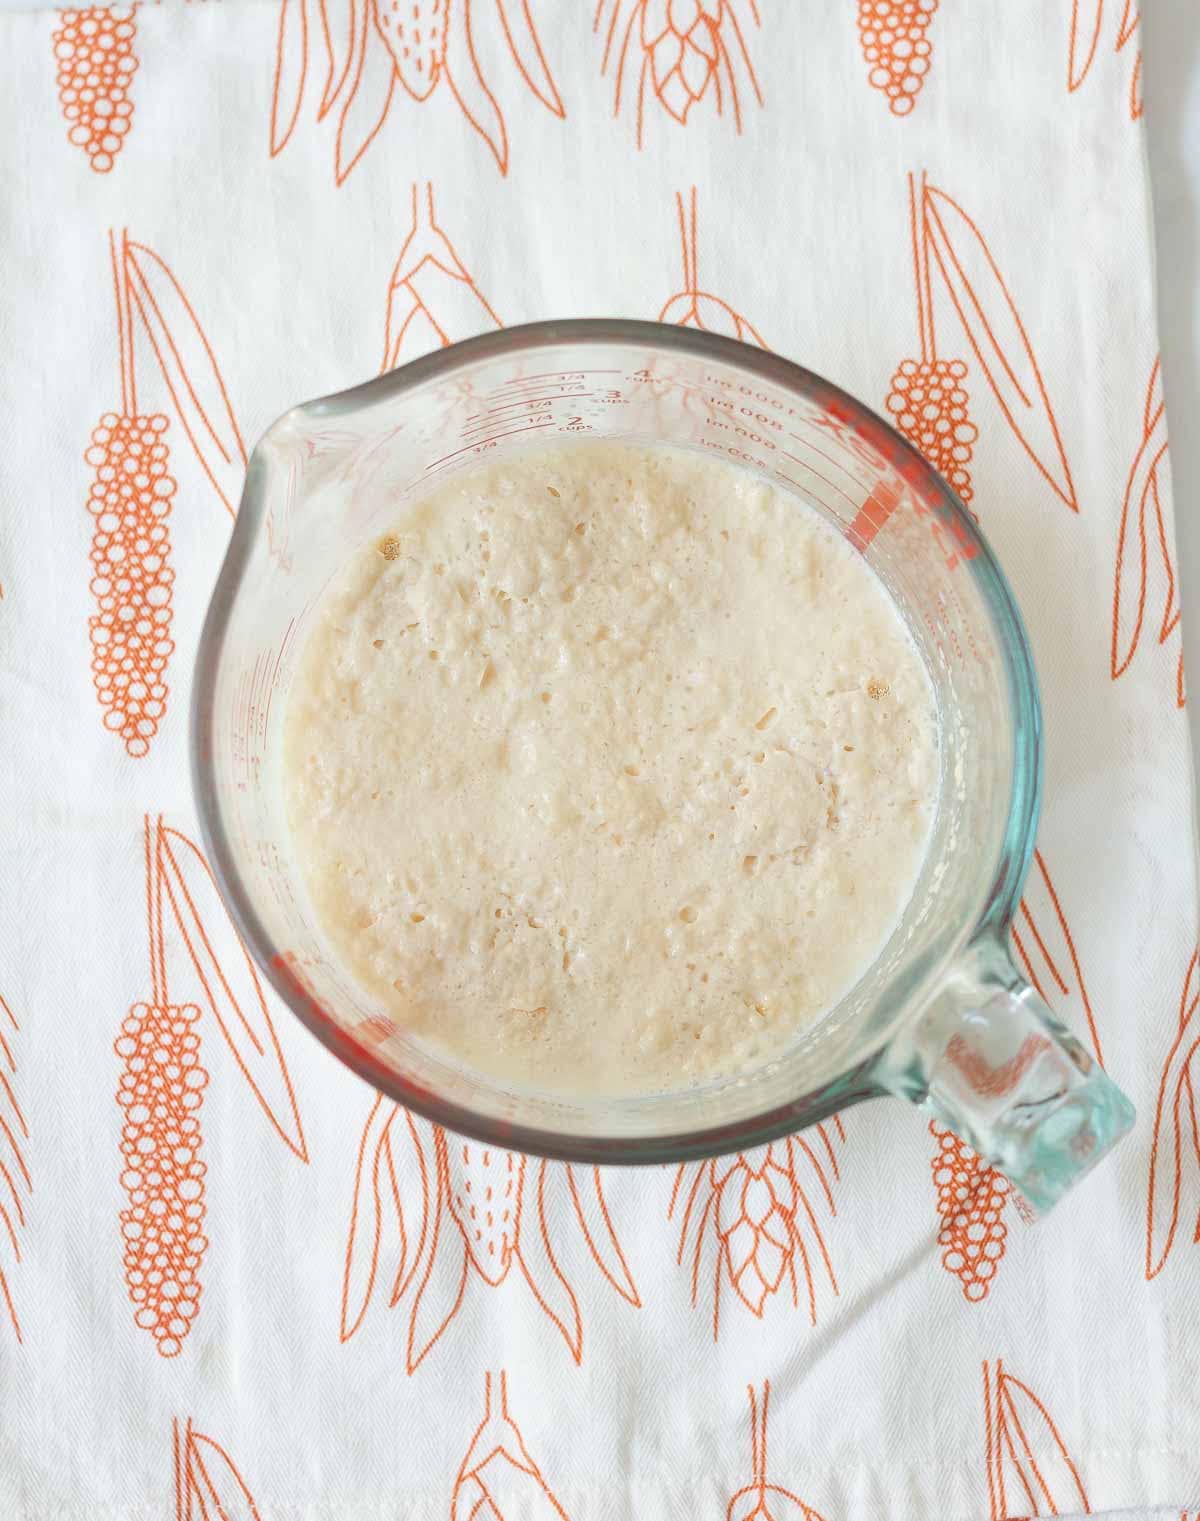
Step 1: Combine lukewarm milk, water, sugar, and yeast. Set aside for 10 minutes until bubbly.
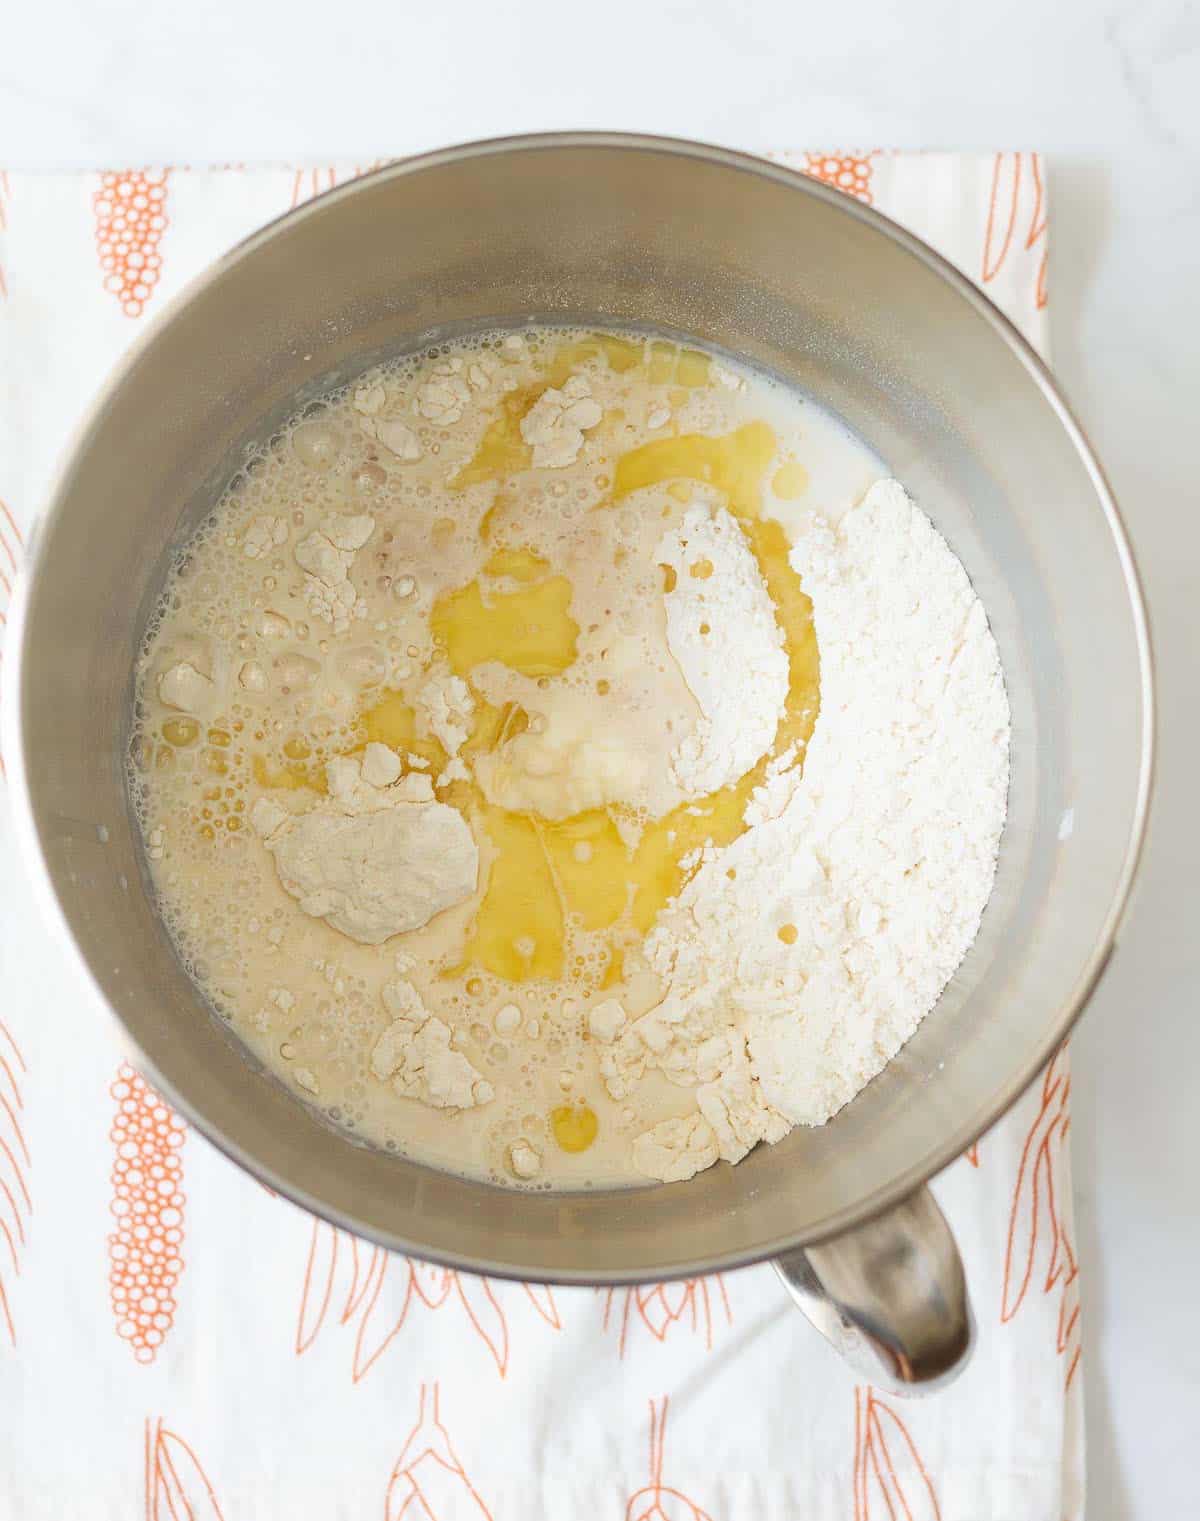
Step 2: In the bowl of a stand mixer, combine the flour, salt, olive oil, and the yeast mixture.
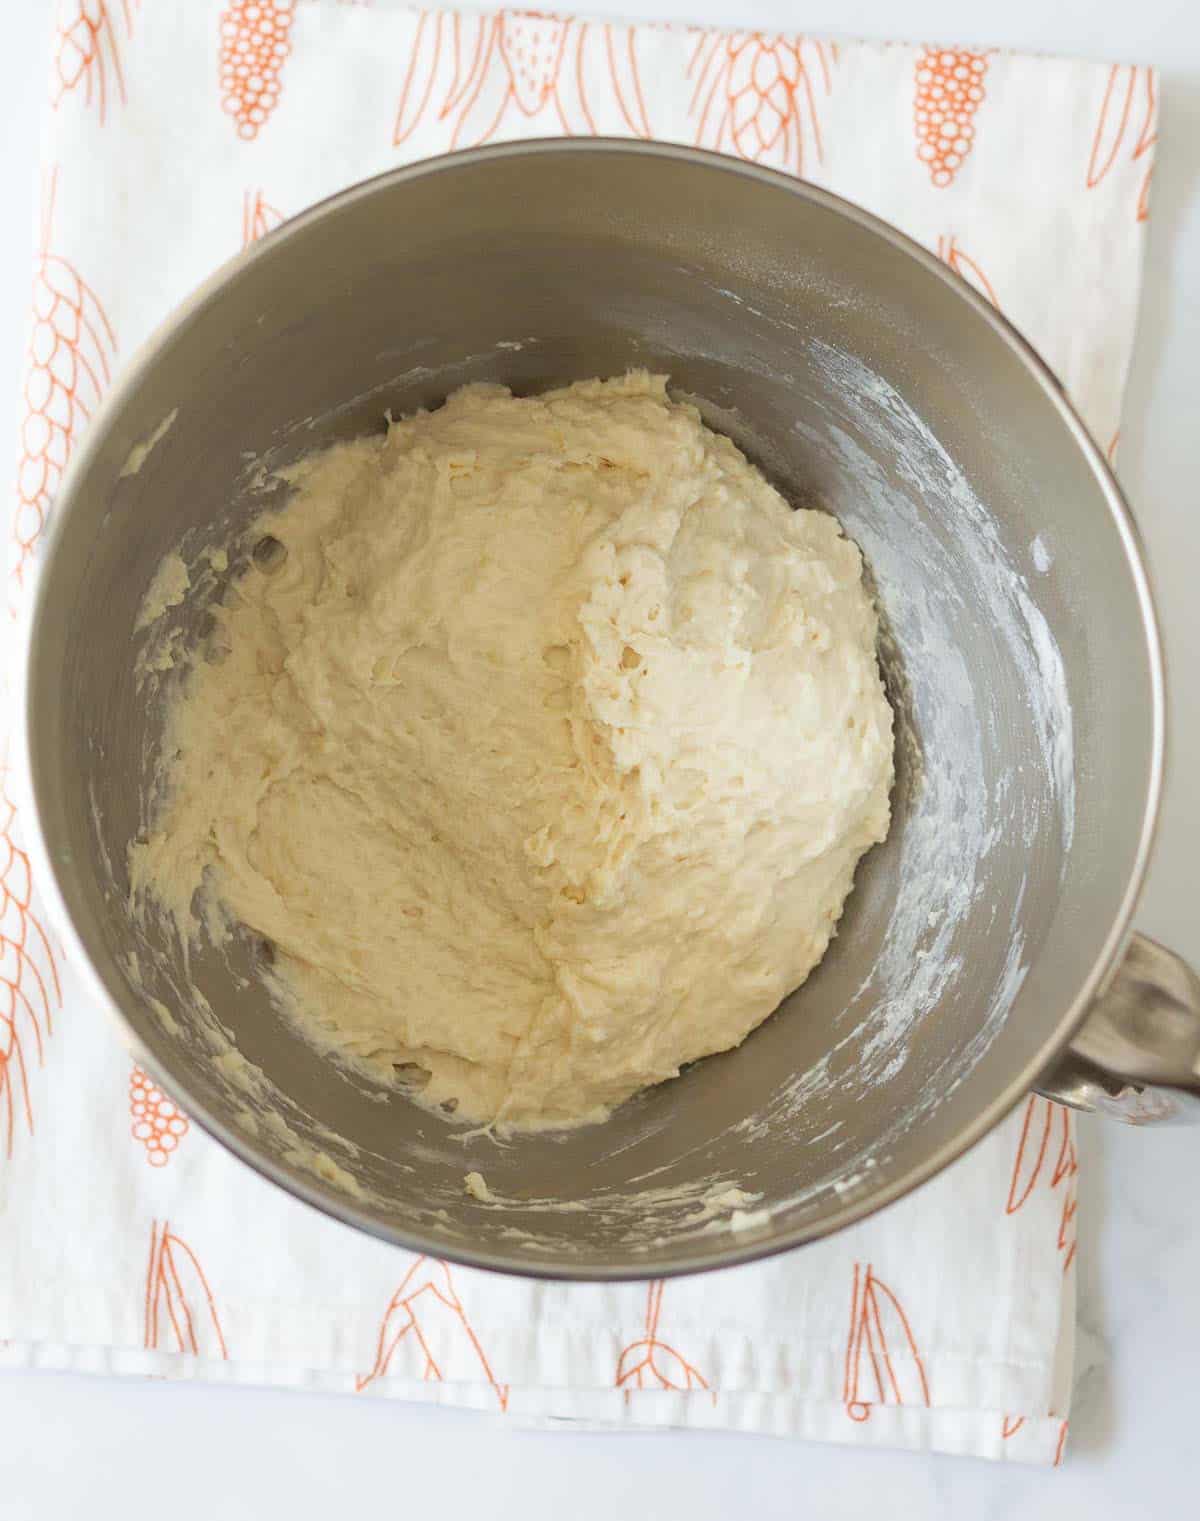
Step 3: Mix well with a spatula until a rough, shaggy dough forms. Cover with a damp kitchen towel and set it aside for 5-10 minutes.
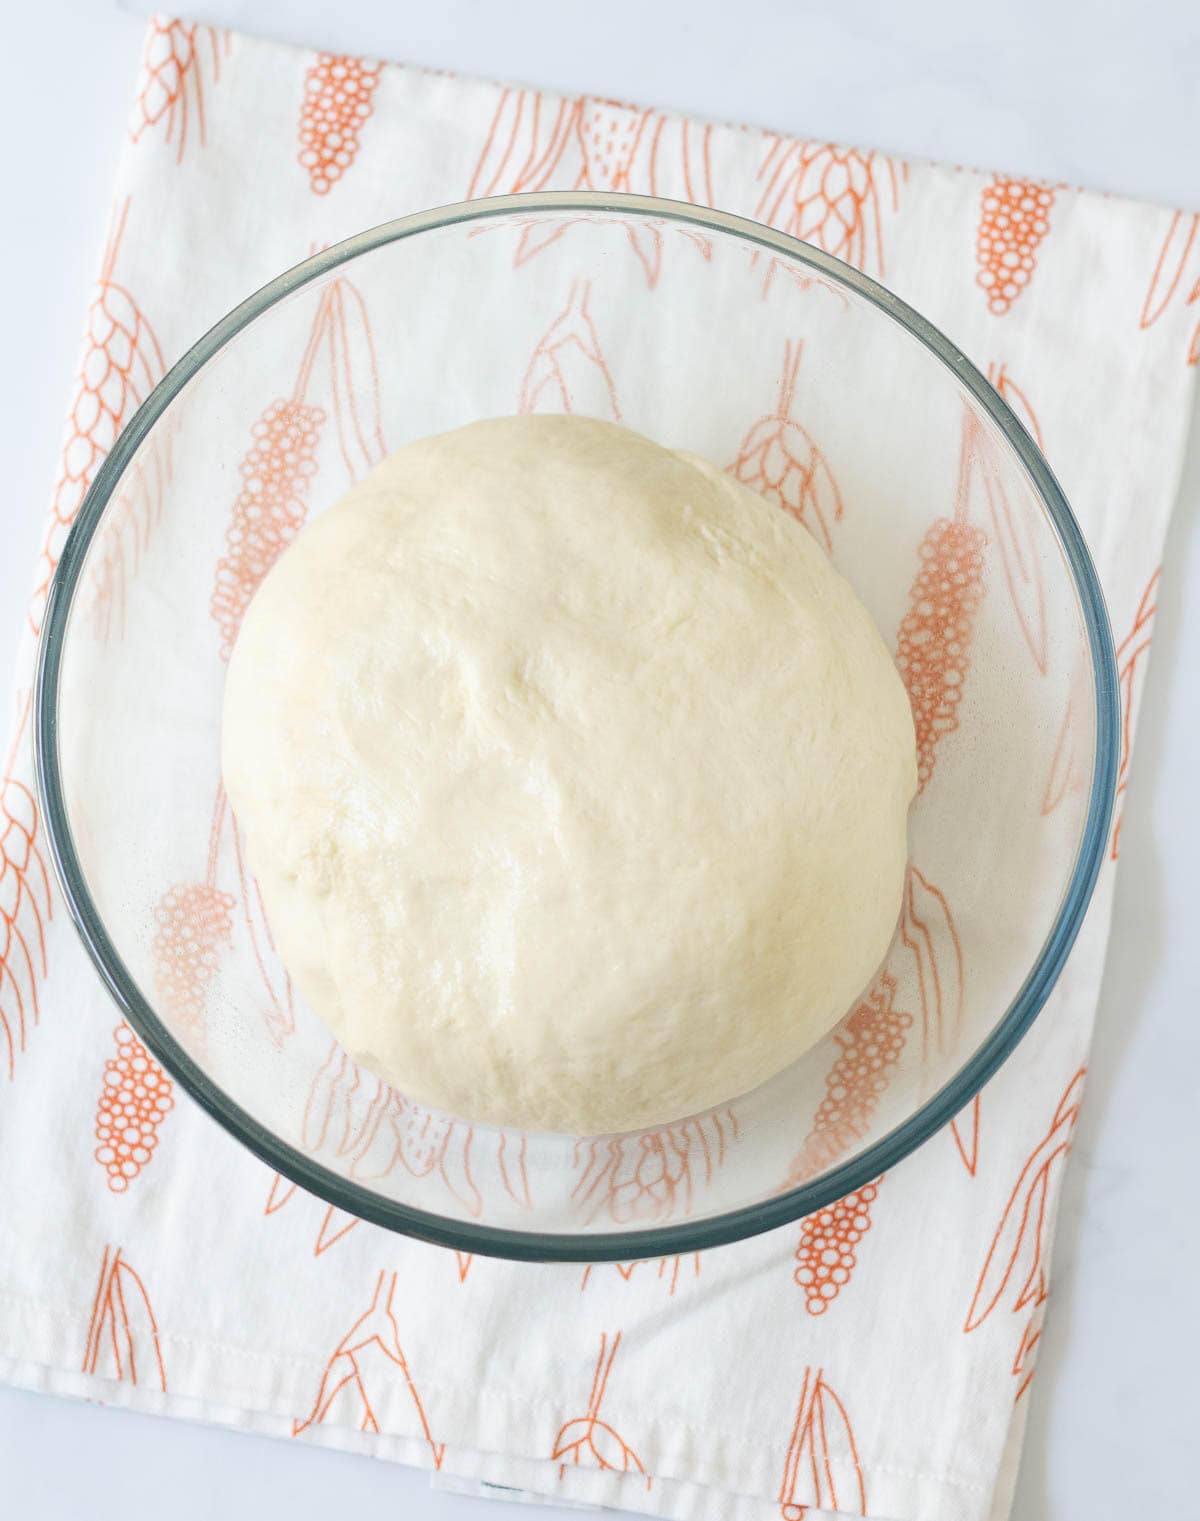
Step 4: Knead the dough in your stand mixer with a dough hook for 8-10 minutes, or until a smooth, soft dough forms. Transfer to a lightly oiled bowl.
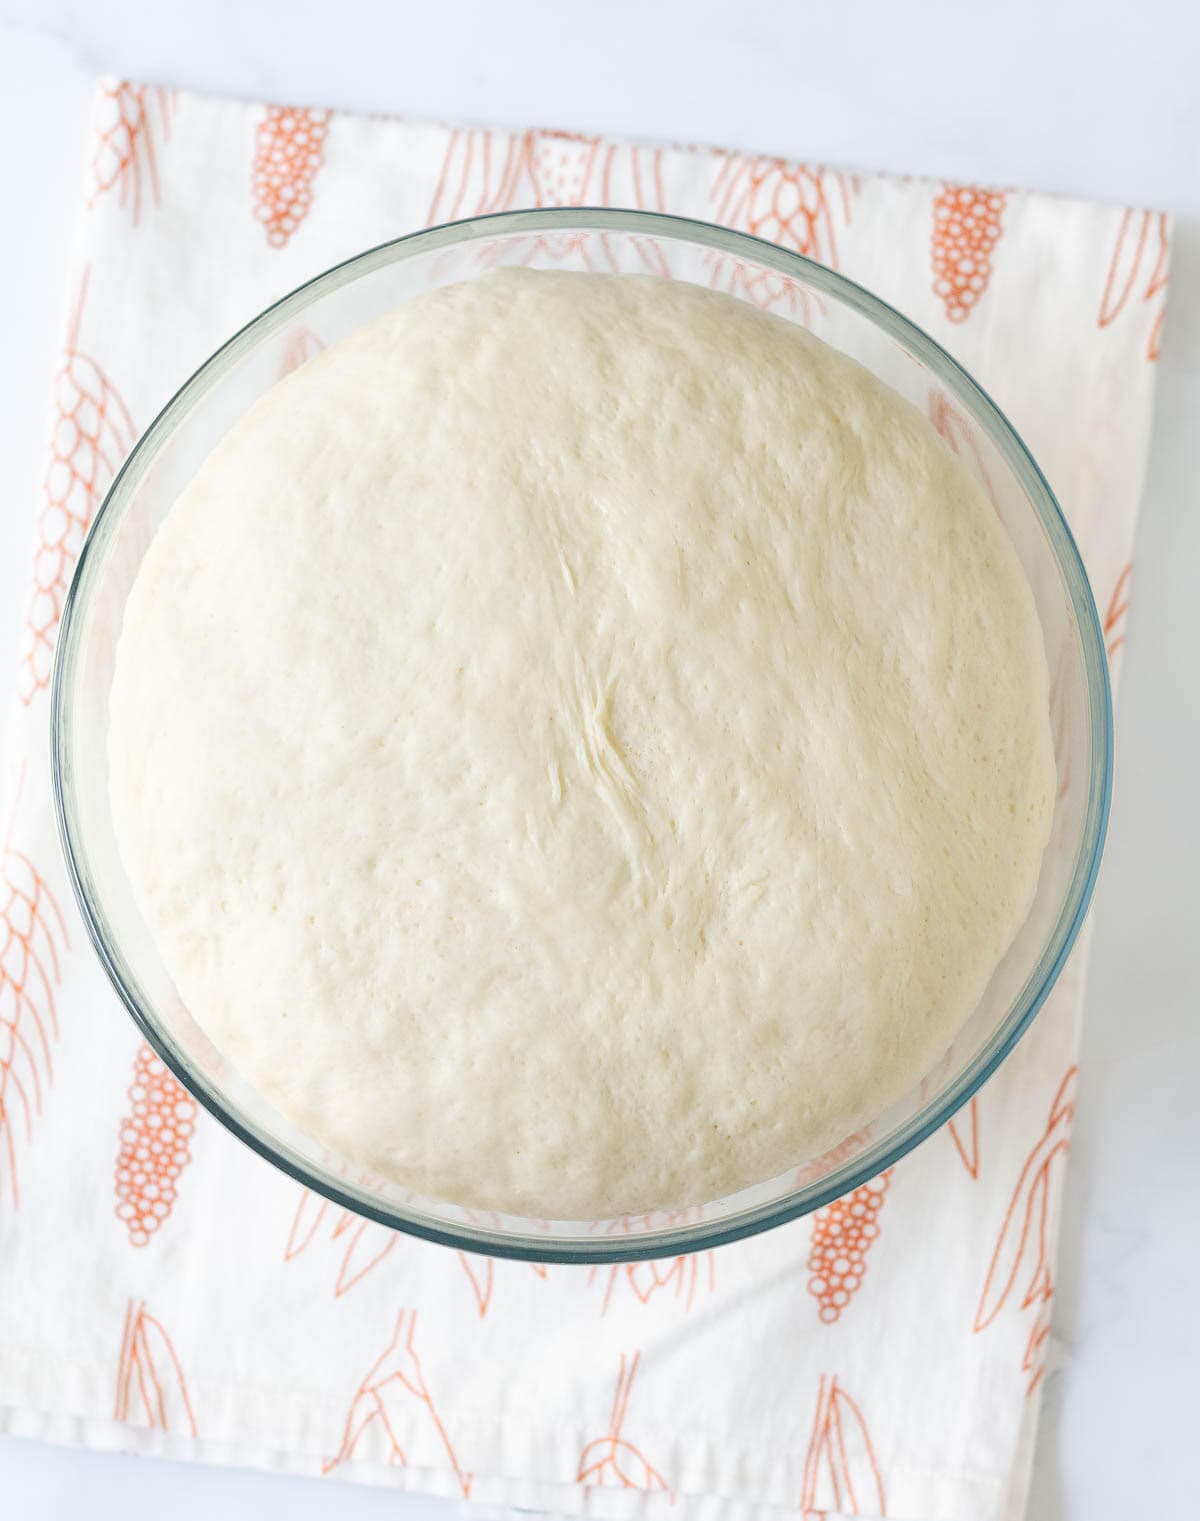
Step 5: Cover and leave the dough to rise in a warm, draft-free spot for 1-2 hours, or until it doubles in volume.
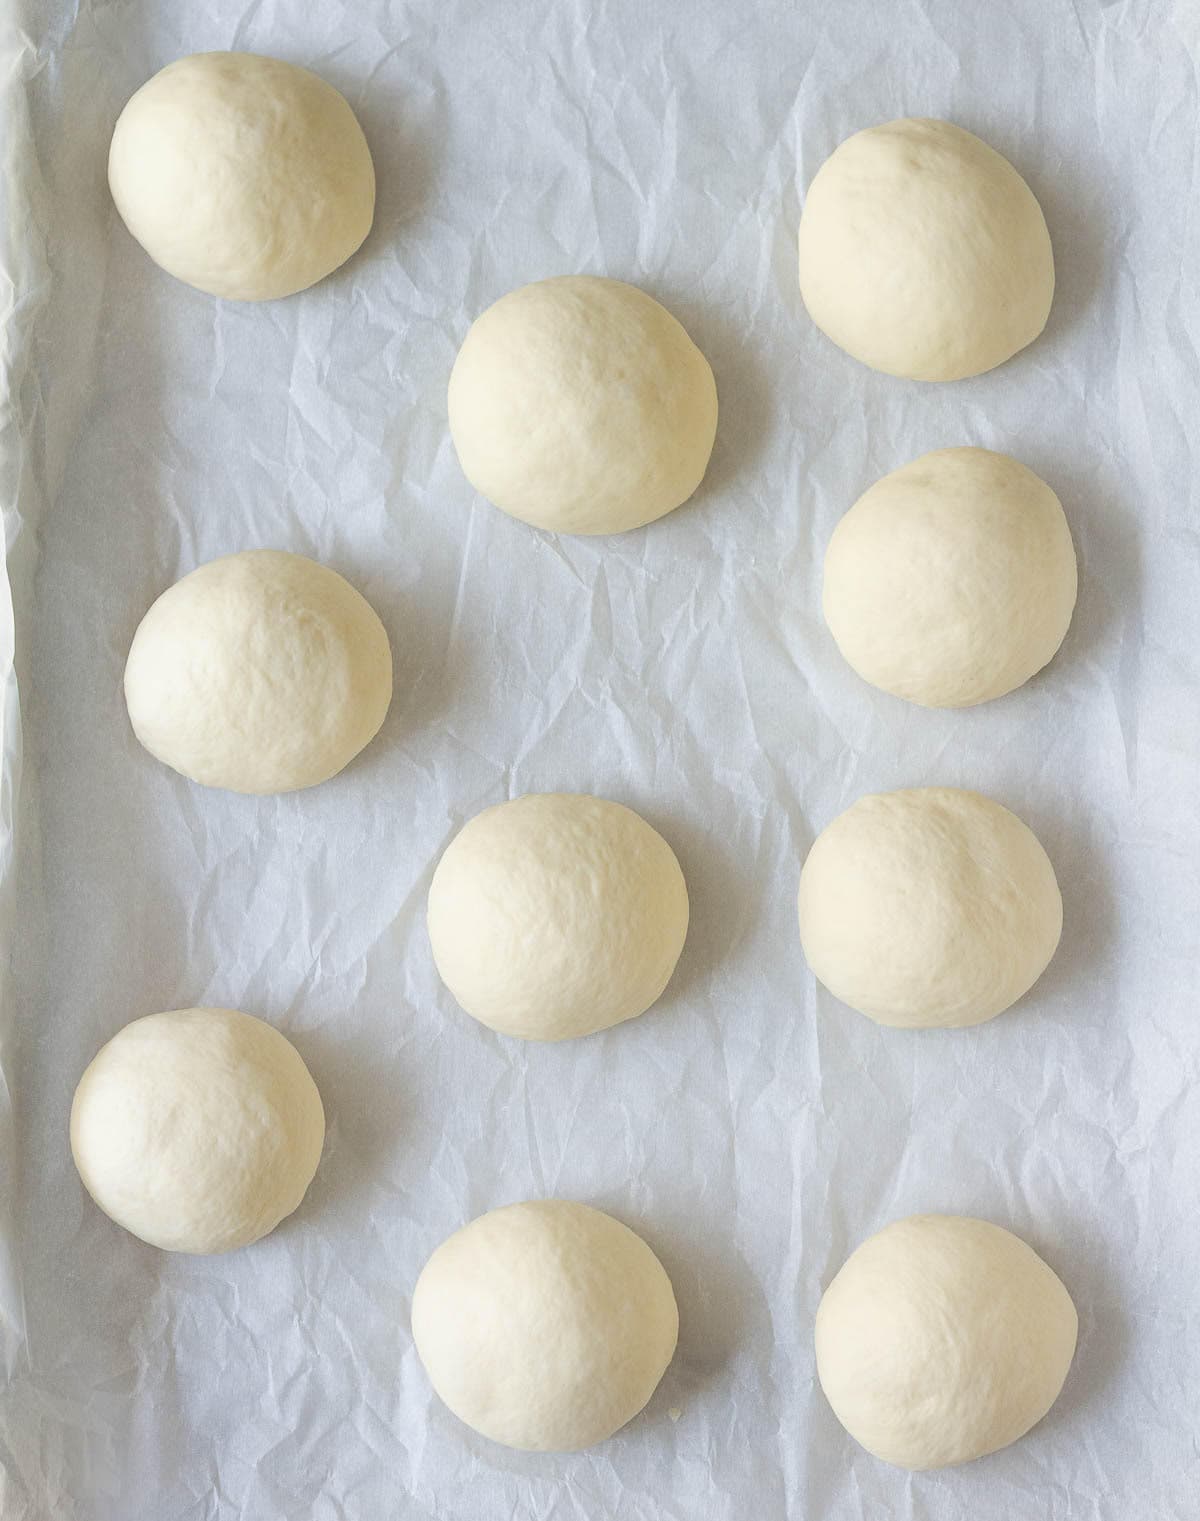
Step 6: Divide the dough equally into 10 pieces. Roll each dough piece into a ball and place it on the prepared tray. Cover with a damp kitchen towel and let the rolls rise for about 20-30 minutes.
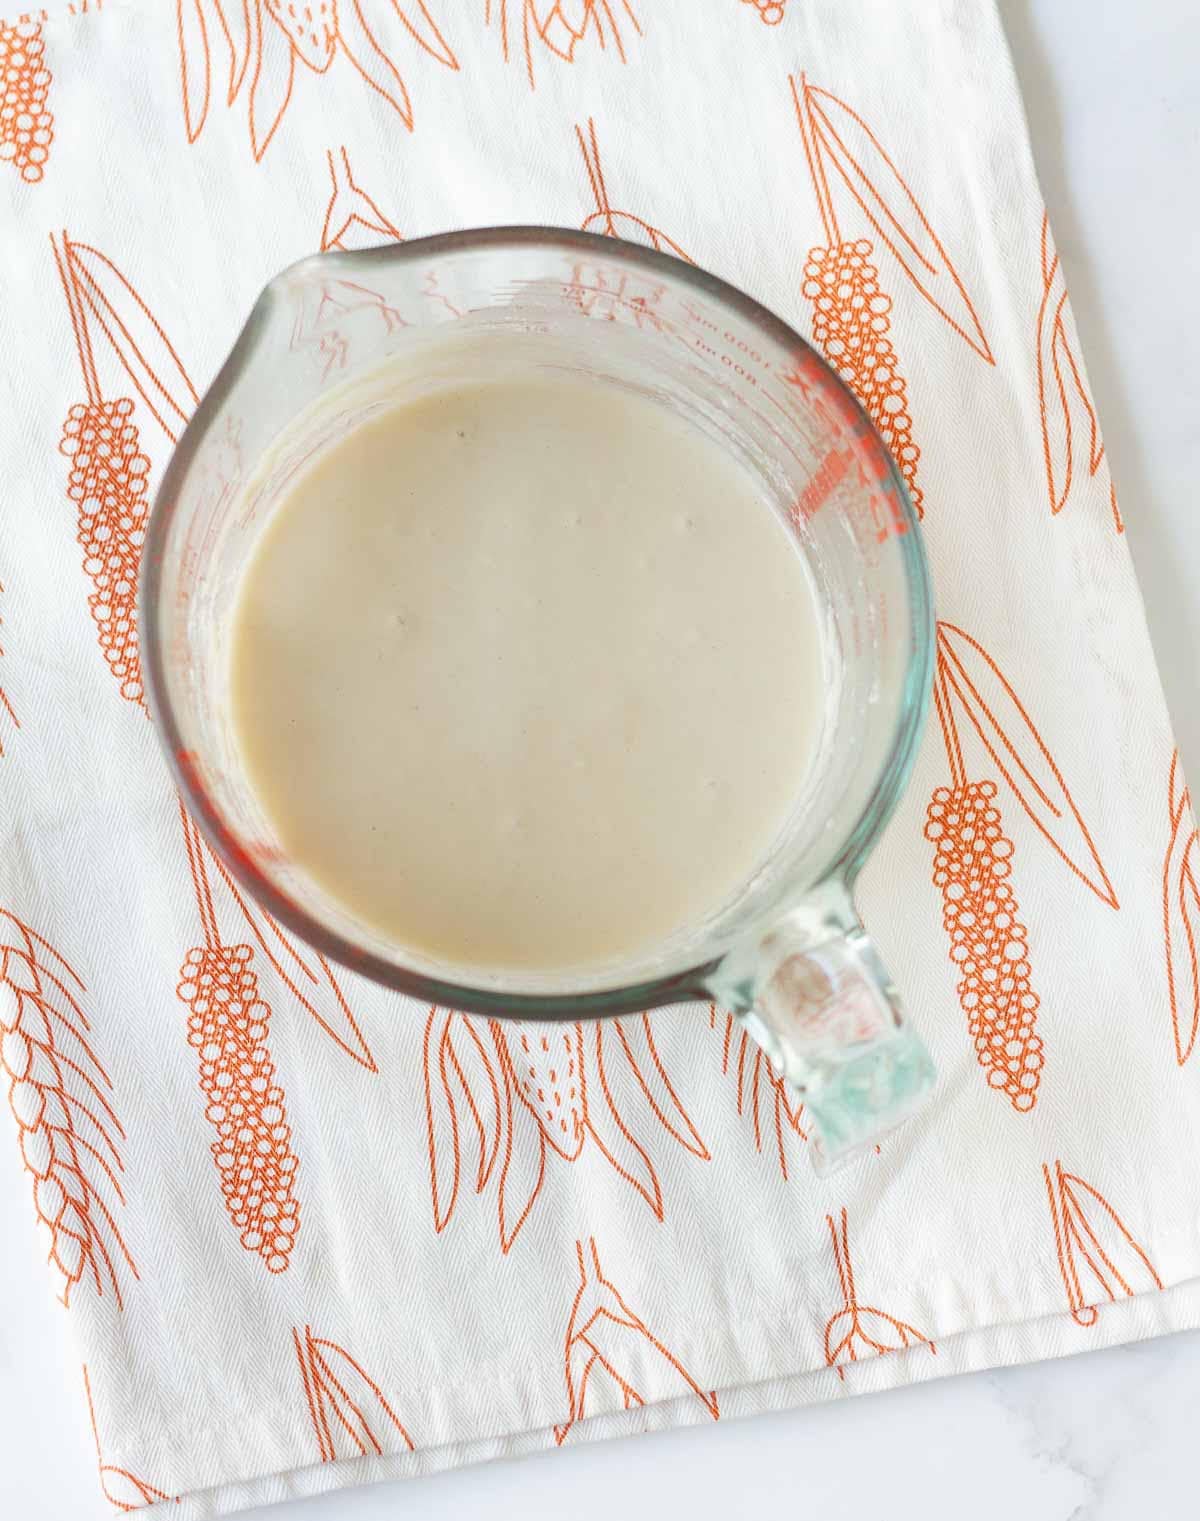
Step 7: In the meantime, make the rice paste. In a small bowl, combine the rice flour, sugar, salt, yeast, oil, and warm water. Mix well until you get a smooth, thick paste. Set aside for 10 minutes until bubbly.
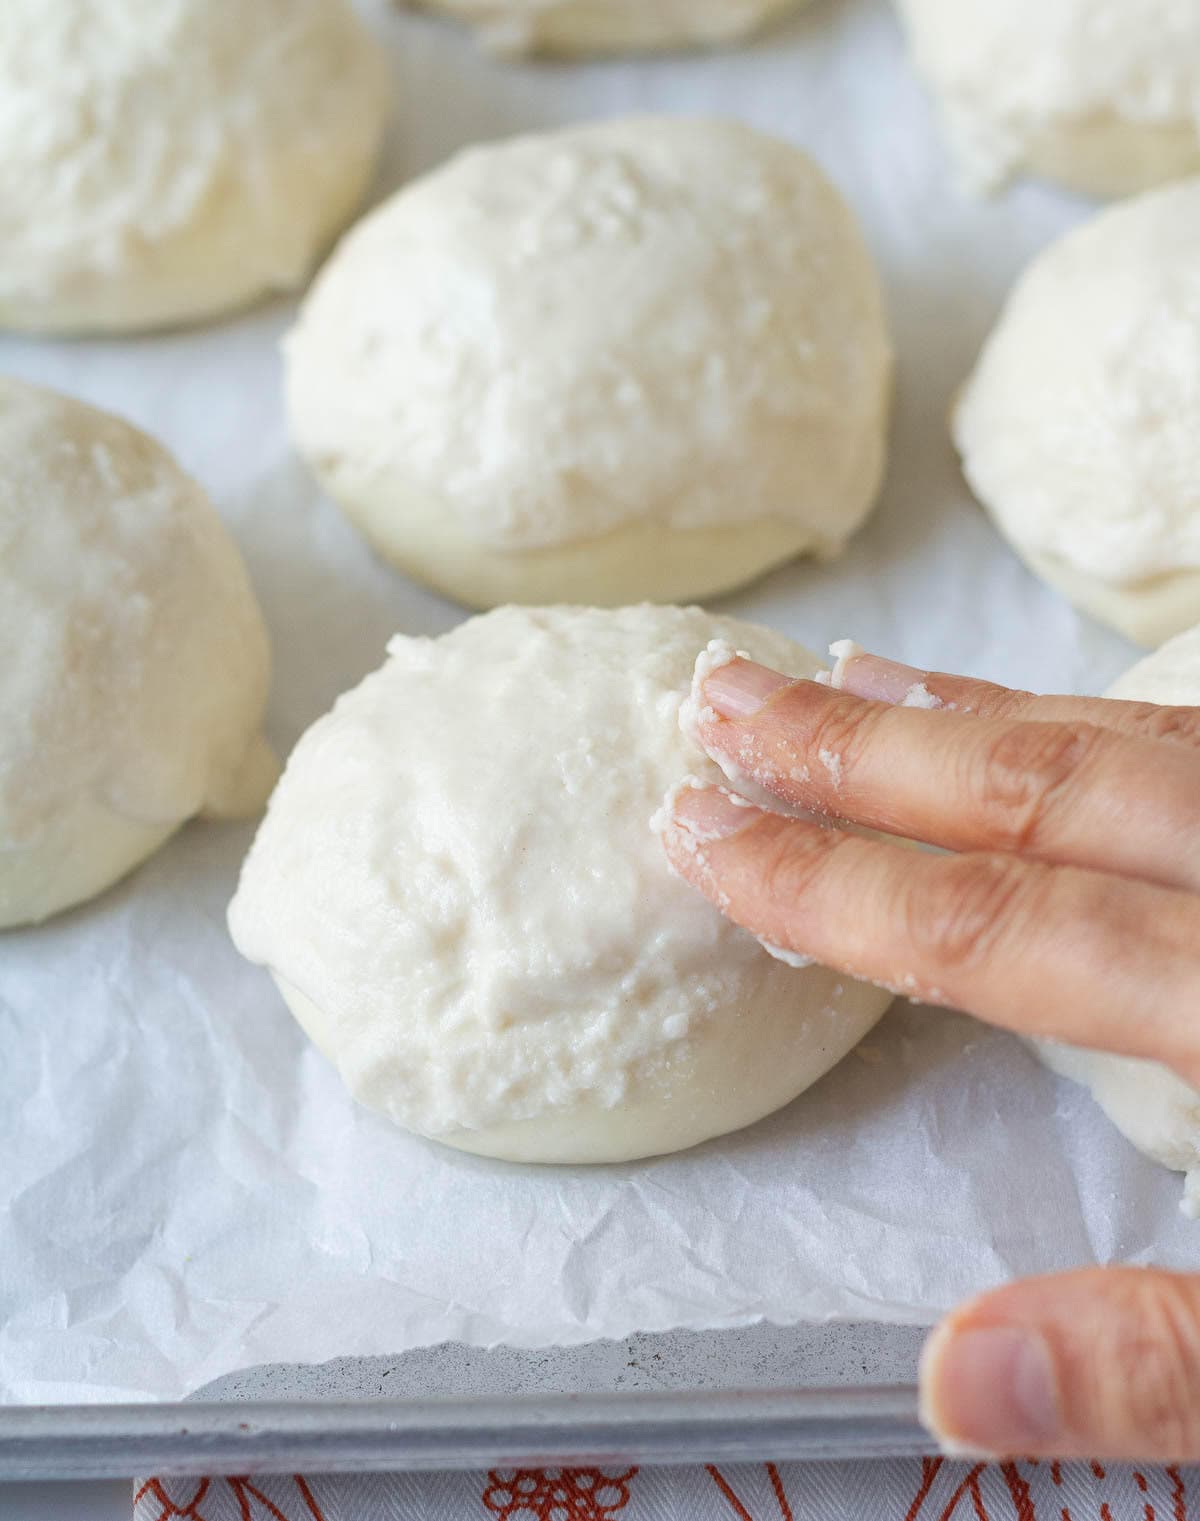
Step 8: Stir the rice paste and spoon it over the proofed dough balls. Using a pastry brush or your fingers, spread evenly in a thin layer all over the surface.
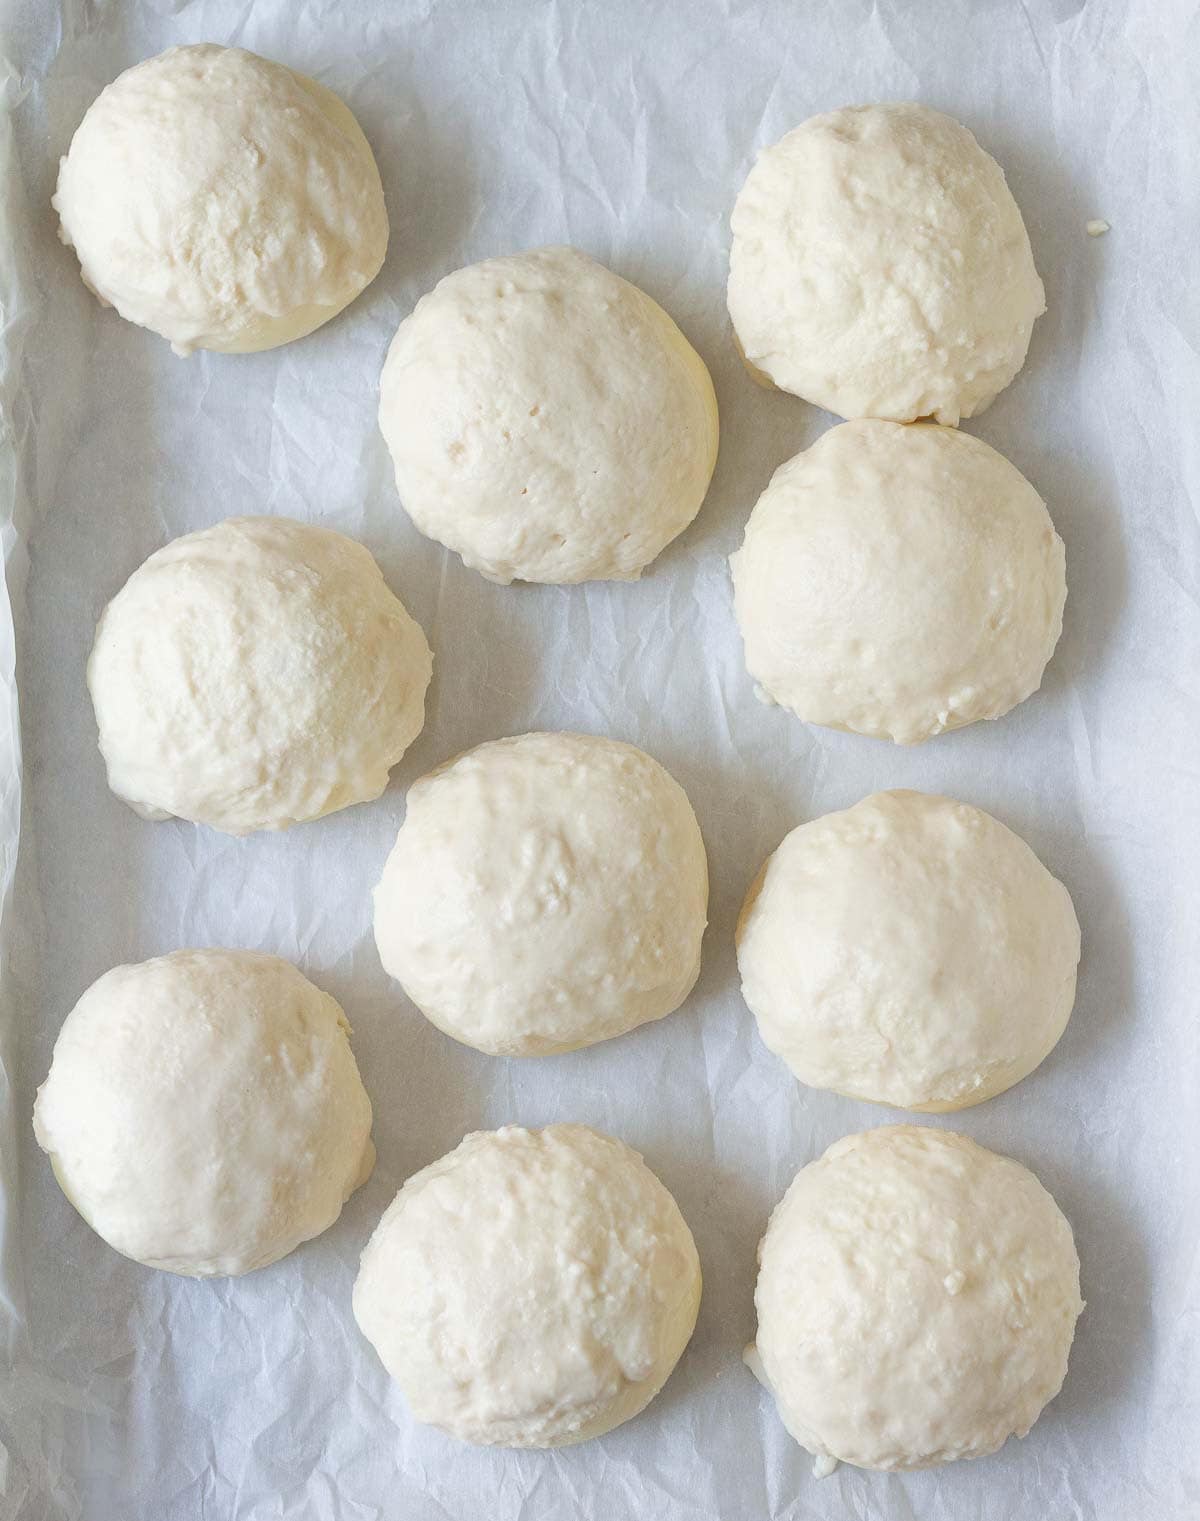
Step 9: Allow the rolls to rest for 5-10 minutes.
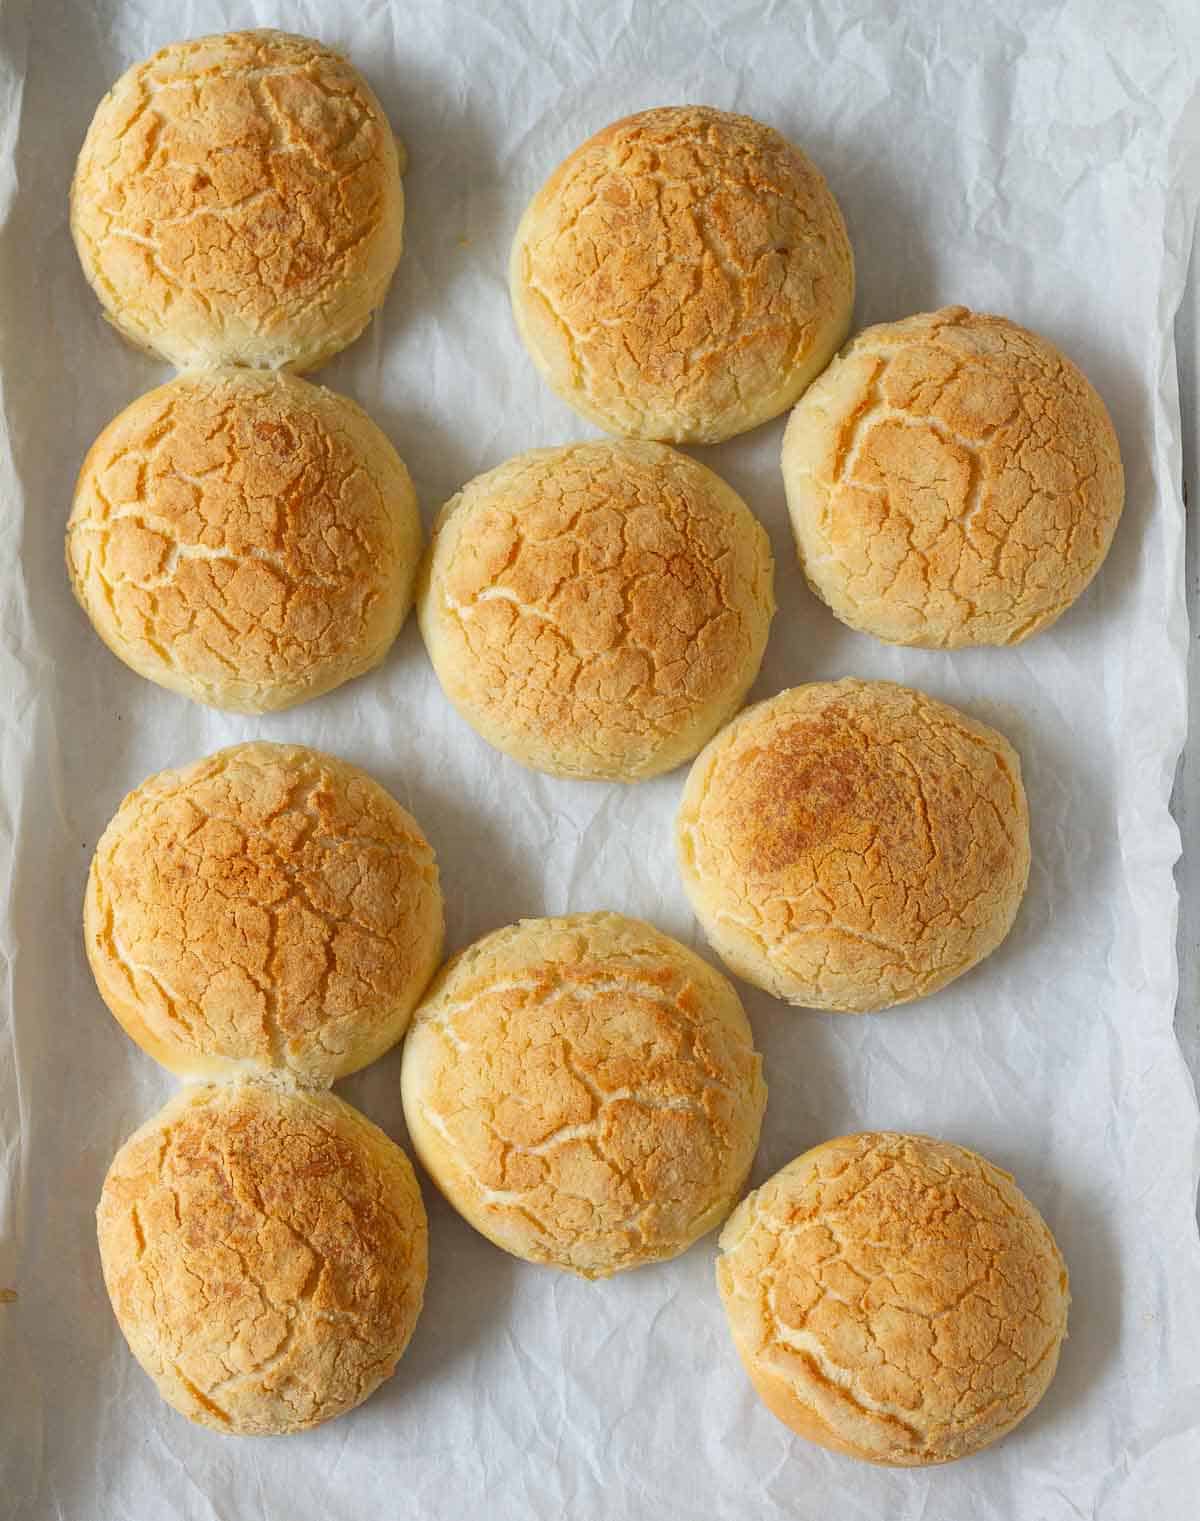
Step 10: Bake for 25-28 minutes or until the tops look cracked and golden brown.
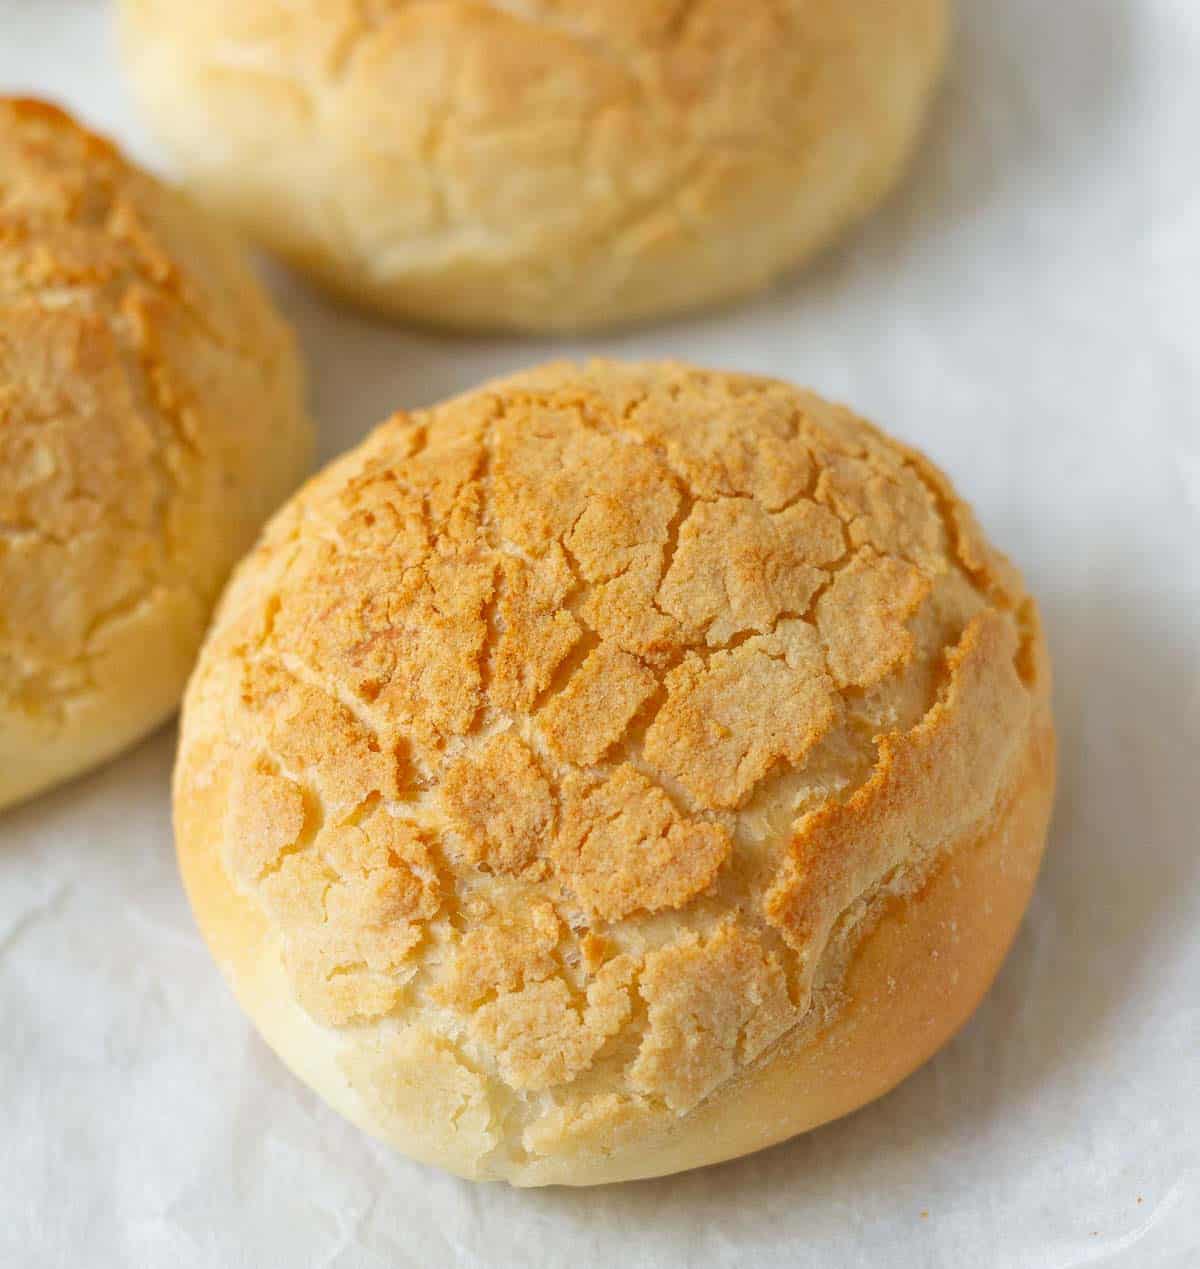
Pro Tips
- Knead the dough well. A smooth, elastic dough is the secret to light and fluffy tiger bread rolls.
- For a soft crumb, don't rush the first rise. Let the dough rise until doubled.
- The Dutch crunch topping should be thick and spreadable, but not runny. If it's too thick, add a tablespoon or two of water. If it's too dry, add more rice flour.
- Allow the rice paste to get bubbly and frothy before using.
- Apply the topping generously. It splits while baking, giving the molten, crackled crust!
- Don't overproof the rolls after applying the rice paste. They should be just puffy. Just 5-10 minutes is enough, as the rolls would have already proofed for 20-30 minutes before that.
- Don't overbake. Bake just until the tops are golden and sound hollow when tapped on the bottom.
- Allow the rolls to cool completely before slicing.
- Always use a kitchen scale to measure the ingredients. This will give consistent and better results every time.
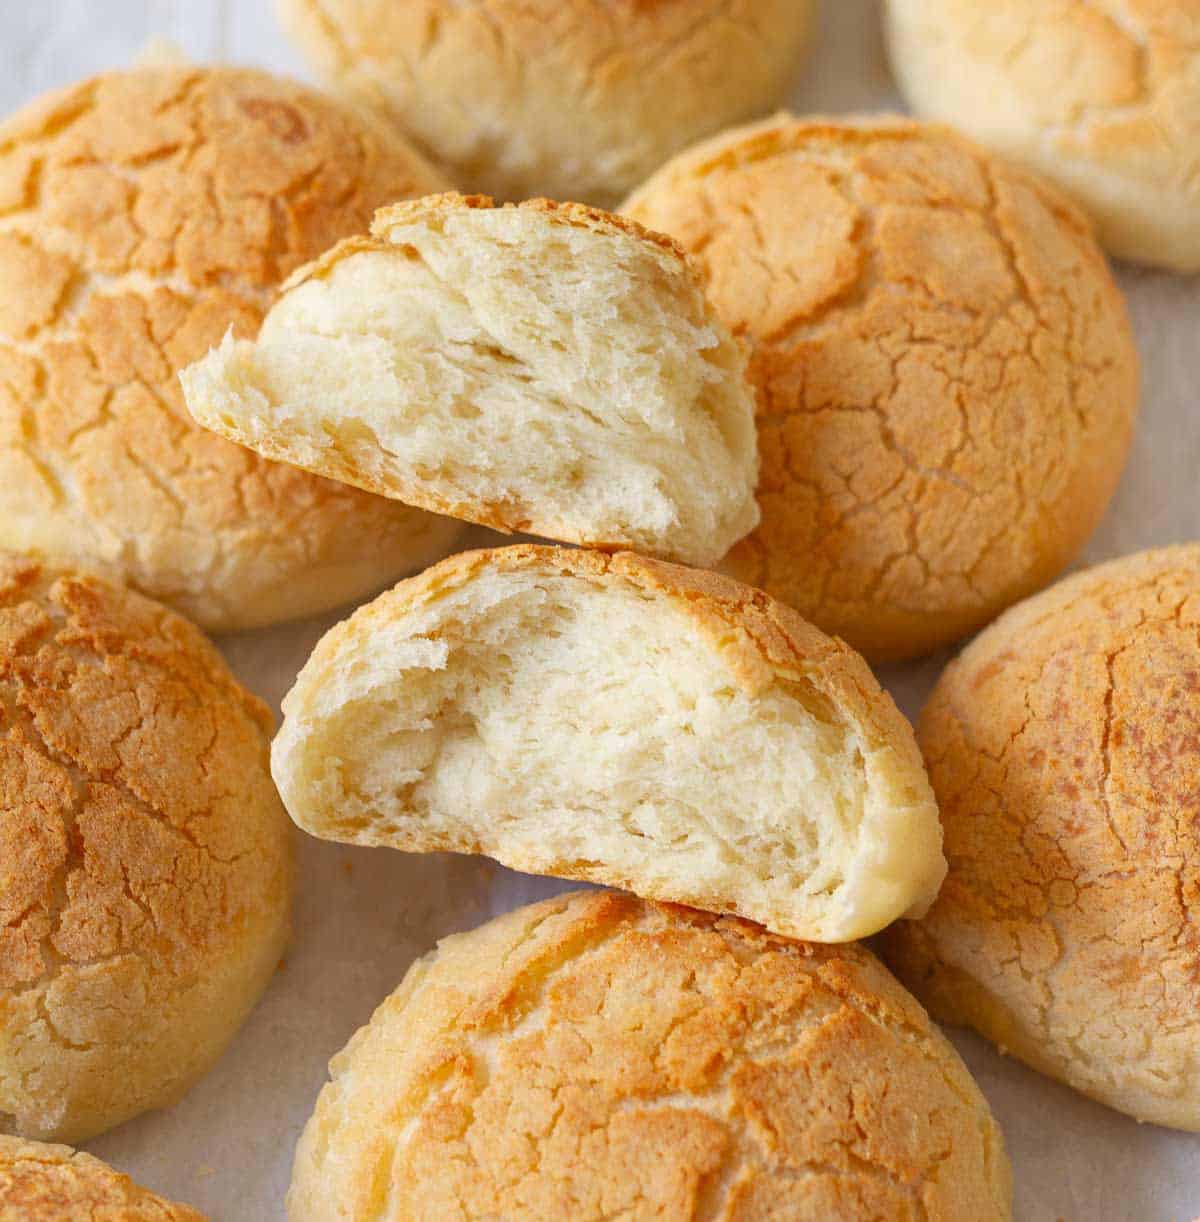
How to Serve
Like most homemade breads, the giraffe bread tastes absolutely wonderful on the day it is baked!
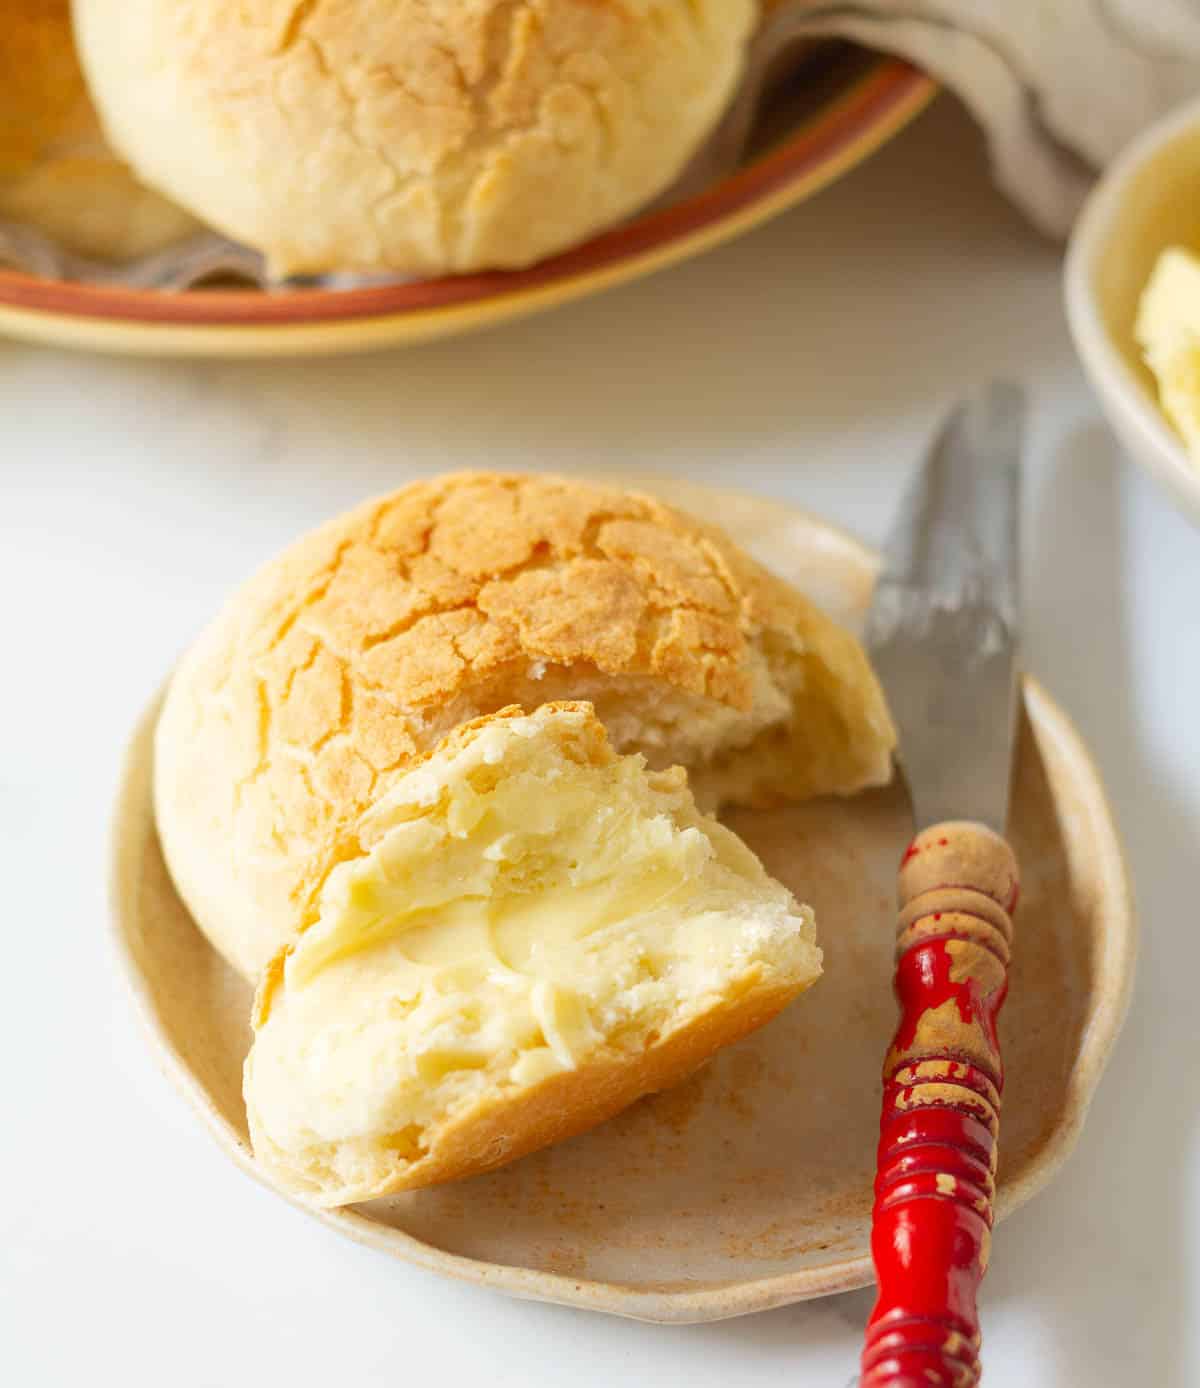
Freshly baked homemade tiger bread is delicious with nothing more than butter. I also love serving it with homemade pear butter, stovetop apple butter, or even homemade jams.
These tiger bread rolls make the best sandwiches! I love making them with my avocado egg salad and smashed chickpea salad.
You can also serve them alongside roasted carrot soup or creamy pumpkin soup.
Recipe FAQs
Why is it called tiger bread?
Tiger bread gets its name from the crackled crust that forms as the rice flour topping bakes. The golden, molten pattern was thought to resemble tiger stripes, though in some countries, it's also called giraffe bread!
Can I make tiger bread as a loaf instead of rolls?
Yes, the dough can be shaped into a loaf instead of rolls. You may have to increase the baking time by a few minutes.
Why didn't my tiger bread crack?
If the rice flour paste was too thin, if the dough was overproofed or if the topping wasn't allowed to become bubbly before baking, you may not get the classic cracked pattern. Make sure the topping is thick, apply generously, and bake in a fully preheated oven.
Can I freeze tiger bread rolls?
Yes, allow the bread rolls to cool completely. Pack them in a freezer-friendly bag or box and freeze for up to 1 month. Thaw at room temperature and reheat in the oven or air fryer.
Recipe
Tiger Bread Recipe
Ingredients
Bread Rolls
- 1 cup Milk
- 1/2 cup Water
- 1 tbsp Sugar
- 2 tsp Active dry yeast
- 4 cups All-purpose flour
- 1 tsp Salt
- 2 Tbsp Olive oil
Rice Paste
- 3/4 cup Rice flour
- 1.5 tsp Sugar
- 1 tsp Active dry yeast
- 2 tsp Vegetable oil
- 1/4 tsp Salt
- 1/2 cup Warm water
Instructions
Bread Rolls
- Warm the milk and water until lukewarm, about 40 C/ 105 F.1 cup Milk, 1/2 cup Water
- Stir in the sugar and yeast. Keep aside for 10 minutes until bubbly.1 tbsp Sugar, 2 tsp Active dry yeast
- In the bowl of a stand mixer, combine the flour, salt, and olive oil.4 cups All-purpose flour, 1 tsp Salt, 2 Tbsp Olive oil
- Add the yeast mixture and mix well with a spatula until a rough, shaggy dough forms.Cover this with a damp kitchen towel and set it aside for 5-10 minutes.
- Knead the dough in your stand mixer with a dough hook for 8-10 minutes, or until a smooth, soft dough forms. The dough should clear the sides of the bowl and cling to the dough hook.You can also knead it by hand for about 10-12 minutes, until the dough is soft and elastic.
- Form the dough into a ball and transfer to a lightly oiled bowl. Cover and leave the dough to rise in a warm, draft-free spot for 1 -2 hours or until it doubles in volume.
- Keep a baking tray ready, lined with Silpat or parchment paper.
- Once the dough is doubled, punch it down and divide equally into 10 pieces.
- Roll each dough piece into a ball and place on the prepared tray.
- Cover with a damp kitchen towel and let the rolls rise for about 20 minutes.
Rice Paste
- In the meanwhile, make the rice paste.
- In a small bowl, combine the rice flour, sugar, salt, yeast, oil, and warm water. Mix well until you get a smooth, thick paste.3/4 cup Rice flour, 1.5 tsp Sugar, 1 tsp Active dry yeast, 2 tsp Vegetable oil, 1/4 tsp Salt, 1/2 cup Warm water
- Set aside for 10-15 minutes until bubbly.
- Preheat your oven to 200 C/ 400F.
- Stir the rice paste and carefully spoon it over the proofed dough balls. Using a pastry brush or your fingers, spread generously in an even layer all over the surface. Rest for 5-10 minutes.
- Bake the rolls for 25-28 minutes at 200 C/ 400 F or until the tops look cracked and golden brown.
- Transfer the rolls to a cooling rack. Cool completely before slicing for making sandwiches. Enjoy!
Video
Notes
- Knead the dough well. A smooth, elastic dough is the secret to light and fluffy tiger bread rolls.
- For a soft crumb, don't rush the first rise. Let the dough rise until doubled.
- The Dutch crunch topping should be thick and spreadable, but not runny. If it's too thick, add a tablespoon or two of water. If it's too dry, add more rice flour.
- Allow the rice paste to get bubbly and frothy before using.
- Apply the topping generously. It splits while baking, giving the molten, crackled crust!
- Don't overproof the rolls after applying the rice paste. They should be just puffy. Just 5-10 minutes is enough, as the rolls would have already proofed for 20-30 minutes before that.
- Don't overbake. Bake just until the tops are golden and sound hollow when tapped on the bottom.
- Allow the rolls to cool completely before slicing.
- Always use a kitchen scale to measure the ingredients. This will give consistent and better results every time.


these tiger bread are so tasty! the kids love it!
Natasha Author
Thanks so so much, Nancy! I really appreciate you. xx
Love how the bread looks when it is finished baking! It definitely stands out from other breads and it is delicious too. This is the first time I have had tiger bread. It was fun to make and delicious.
Natasha Author
Aw thank you so much, Dawn! I'm so so glad to hear this! xoxo
These tiger bread rolls look so good. I’m definitely going to try them and I’m sure my kids will love it. Bookmarking it.
Natasha Author
Thank you so much, Shilpa! I hope you get to try this soon! xx
This bread was perfect and so easy to make! It turned out great!
Natasha Author
Oh thank you so much, Kayla! I'm so happy you tried this out! xx
That looks amazing and would love to give it a hand to make them
Natasha Author
Thank you so much, Giangi! Hope you get to try it out soon and enjoy it as much as we do. xx