
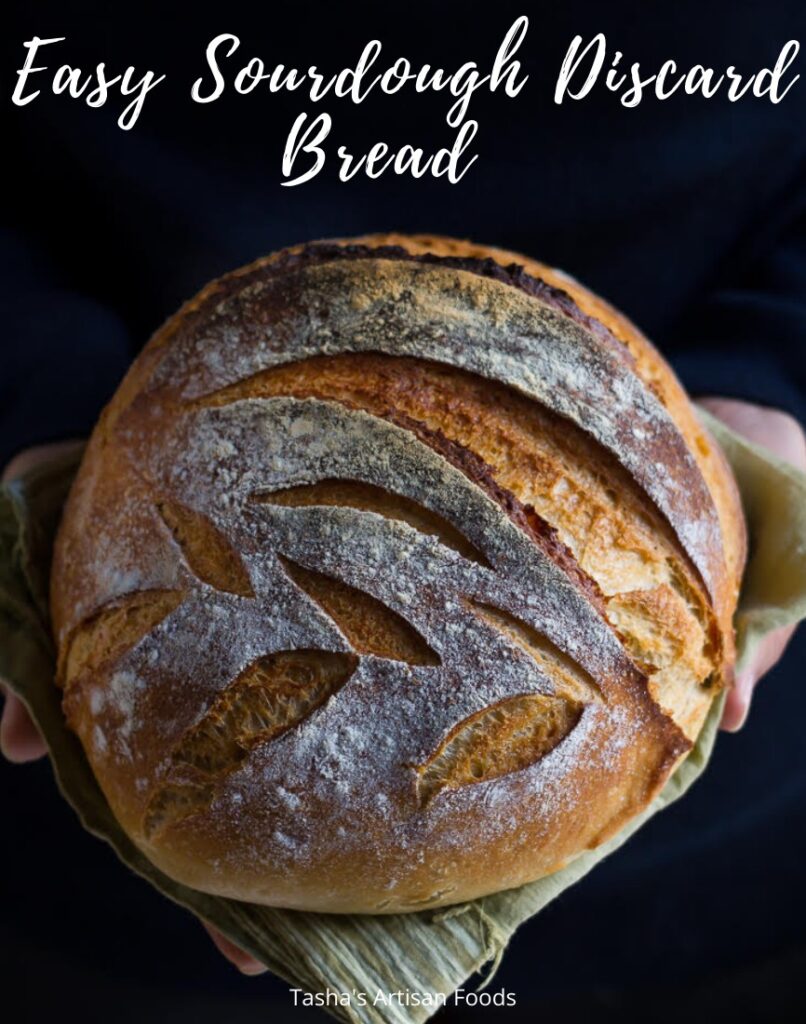
Easy Sourdough Discard Bread

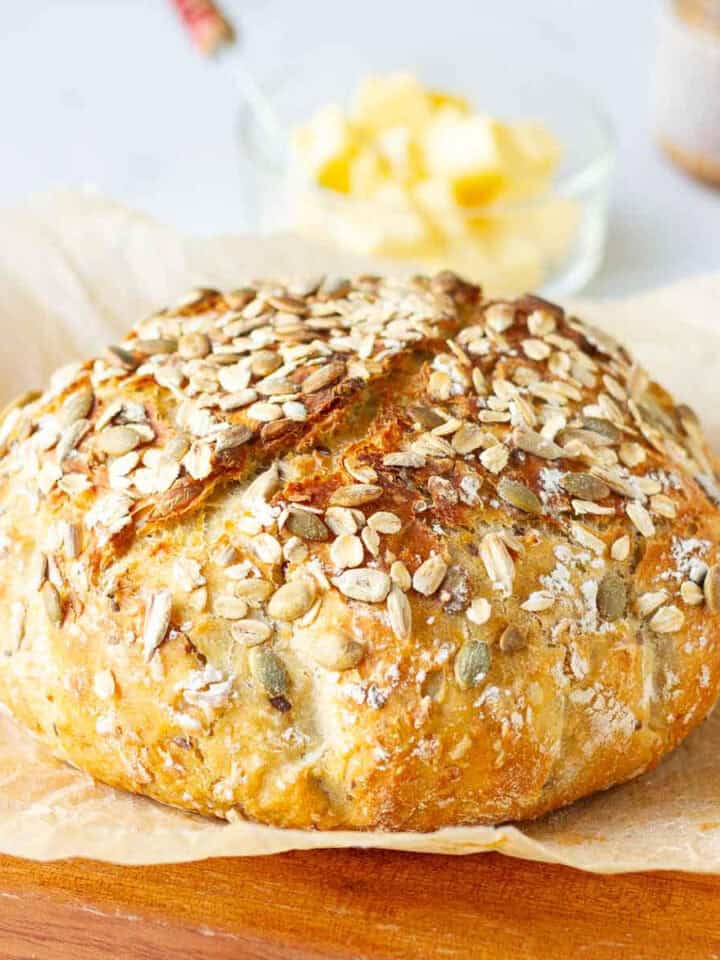
The easy sourdough discard bread is soft and tender with a gorgeous crackly crust! You get a tiny burst of tang, slightly more than the usual bread, with a bit of a chewy underbite. It is bliss like you’ve never tasted.
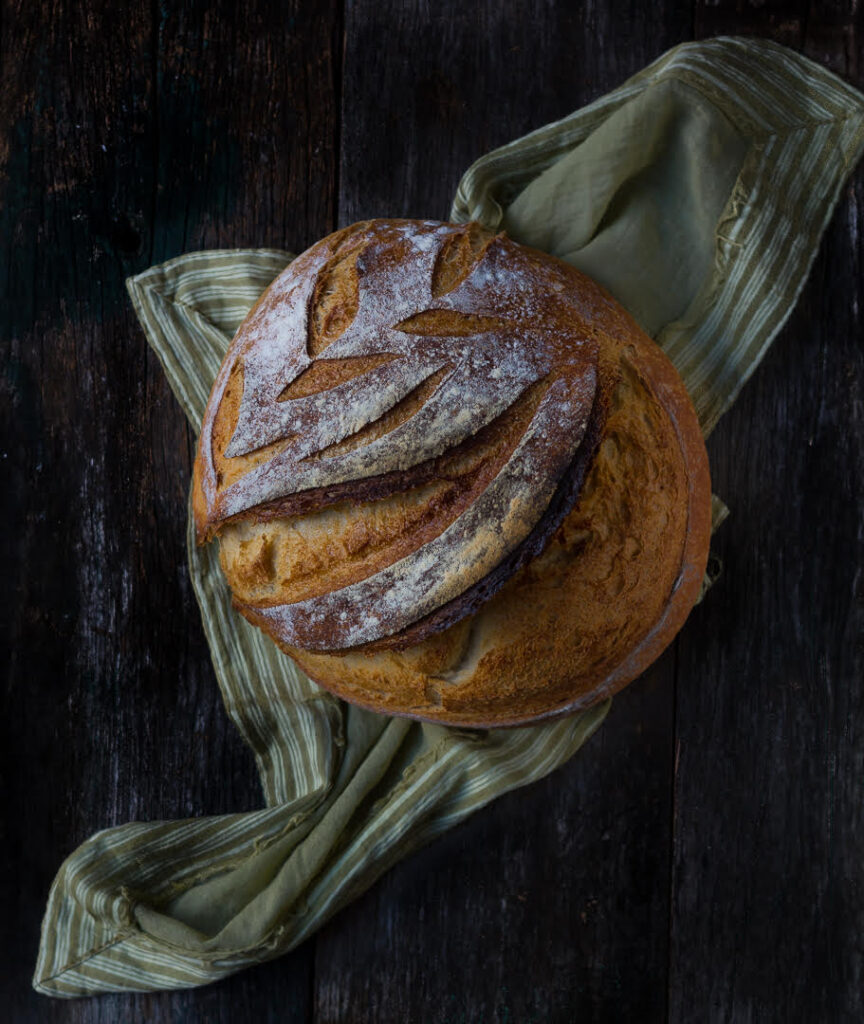
This is not a sourdough bread. It’s not even pretending to be one! It’s an everyday bread that looks artisanal and just happens to have sourdough discard as one ingredient.
Why am I emphasizing the difference? Because this recipe requires less technique than actual sourdough bread and far, far less time, as it’s helped along by yeast.
I’ve been perfecting the recipe for an easy sourdough discard bread since I made sourdough peanut butter brownies. For months, I kept adding starter discard to batches of everyday bread until I was satisfied with the result.
So, if you’re feeding your starter and thinking, “What can I do with sourdough discard?” here’s your answer. Make an easy sourdough discard bread. You can also try this quick sourdough banana bread if you're looking to make a no-yeast bread!
How to make easy sourdough discard bread?
Making sourdough bread is calming and an experience in itself. But let’s be honest, we don’t always have the time to bake it. This recipe is for exactly those days.
Get the ingredients together.
- Mix all-purpose flour, whole wheat flour, and salt.
- Add the sourdough starter discard to it, and then set it aside.
- In a small bowl, combine warm water with yeast and sugar.
- Stir and let it sit for 10 to 15 minutes in a draft-free and warm corner of the kitchen.
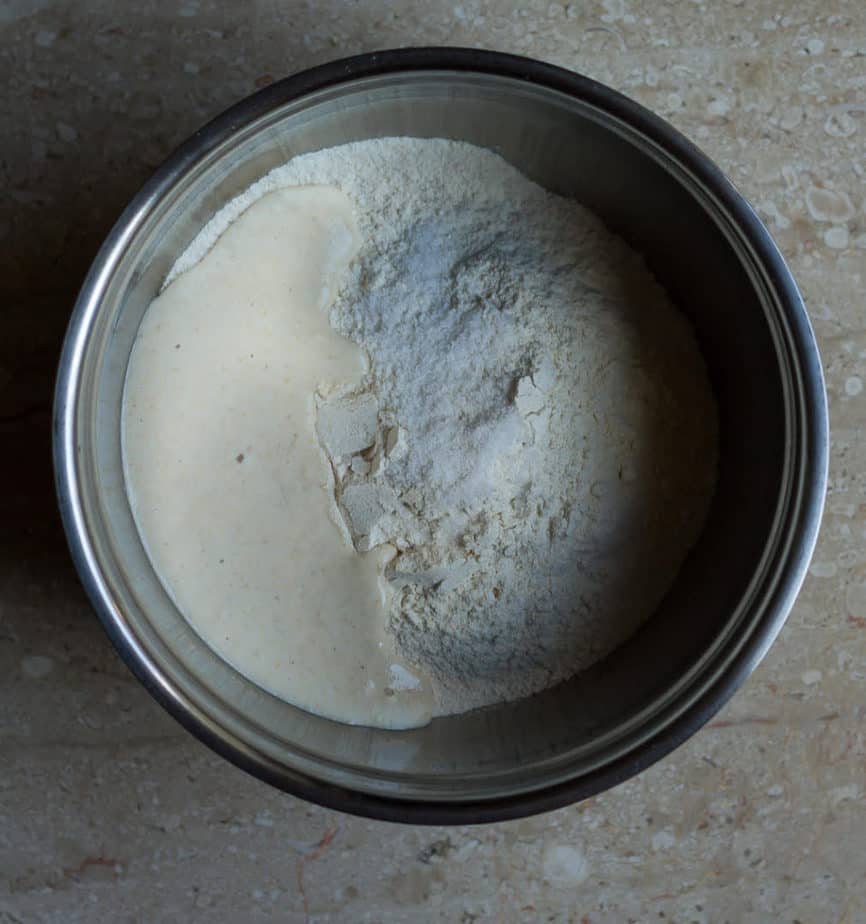
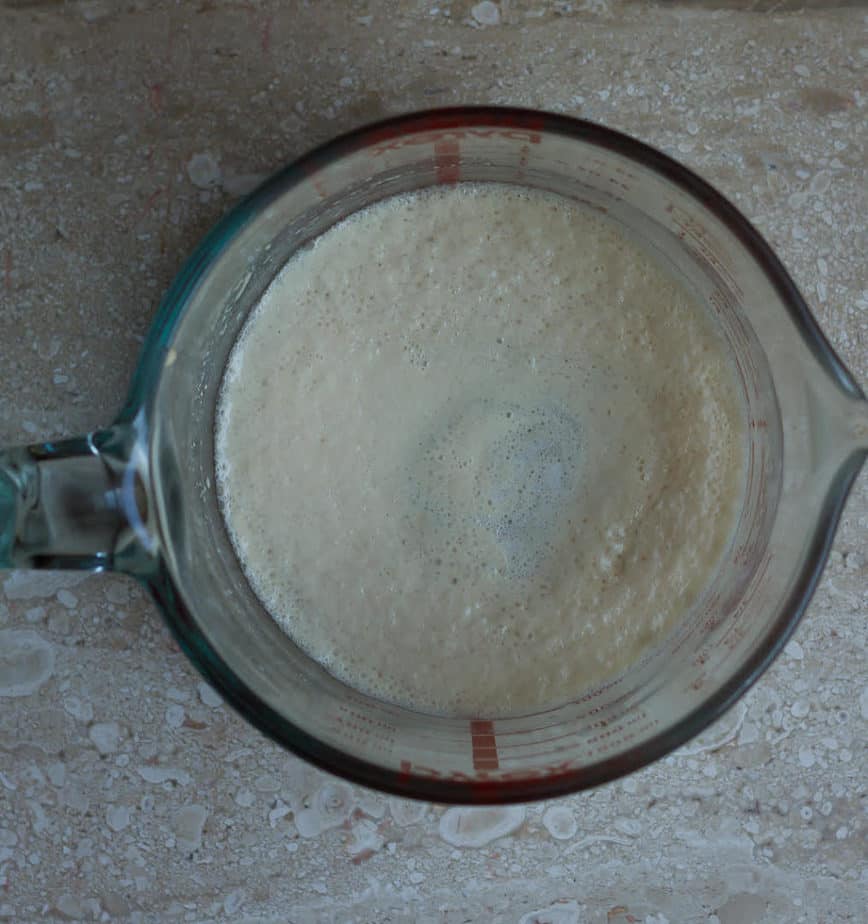
When the yeast mixture is bubbly and frothy, mix it into your dry ingredients using a fork. As you mix, you’ll get a scraggy dough.
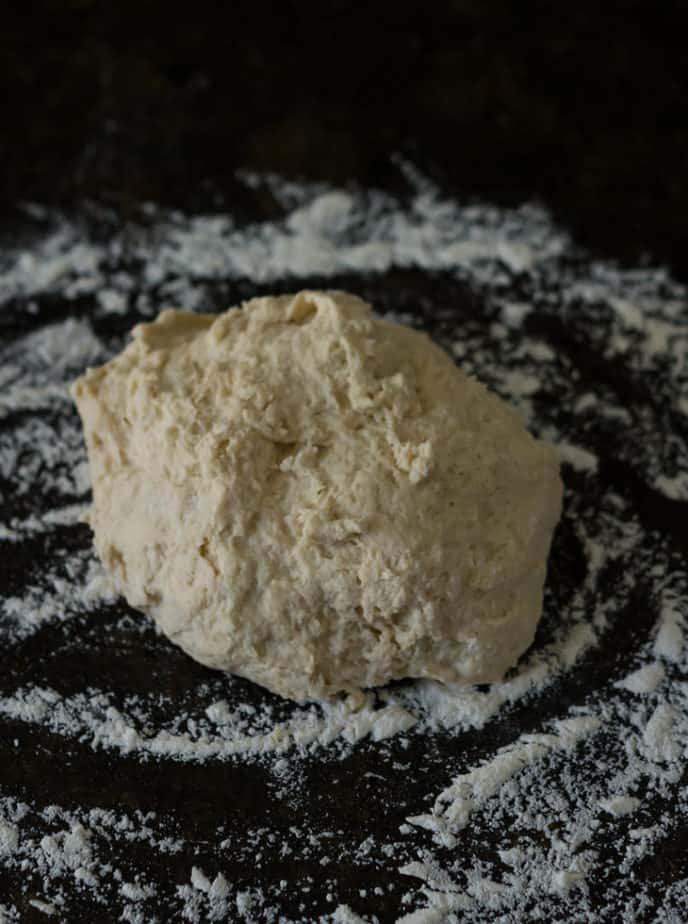
The first kneading
- Place the scraggy dough on a well-floured surface and begin kneading.
- The trick is to push the dough away from you using the heel of your hand.
- Bring the upper half over the lower half with your fingers, folding the dough.
- Then again, push it outwards with your heels.
- Repeat this process for a good 8 to 10 minutes till you have a smooth, supple dough.
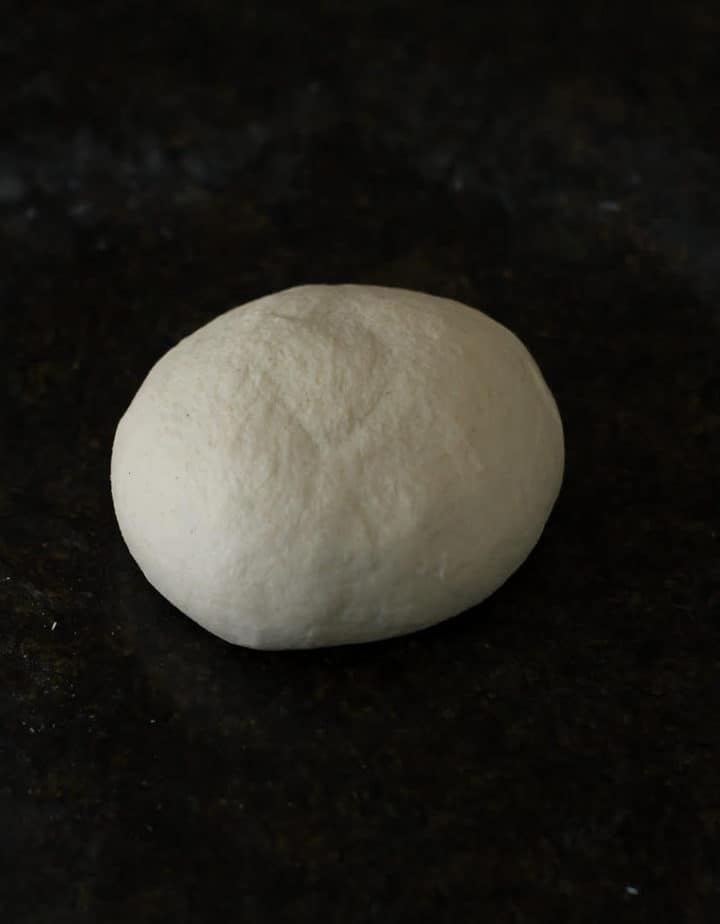
This motion of kneading develops the gluten strands and builds a structure where gases can get trapped, causing the dough rise.
Quick tip:
If you get tired while kneading, cover the dough with either a tea towel or an upturned bowl. Take a breather for a few minutes and then come back again.
The first proofing
- When the dough is elastic and soft, place it in a lightly greased bowl.
- Cover it with a tea towel or cling wrap.
- Stow it in a warm corner for 2 to 3 hours, until it's doubled in size.
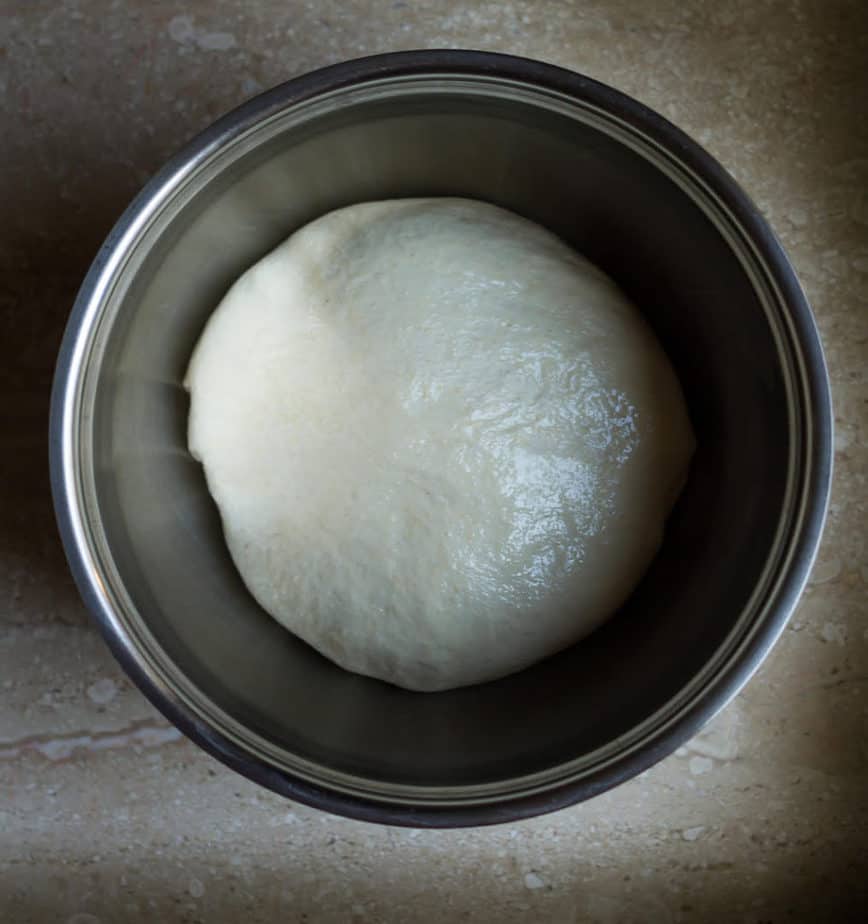
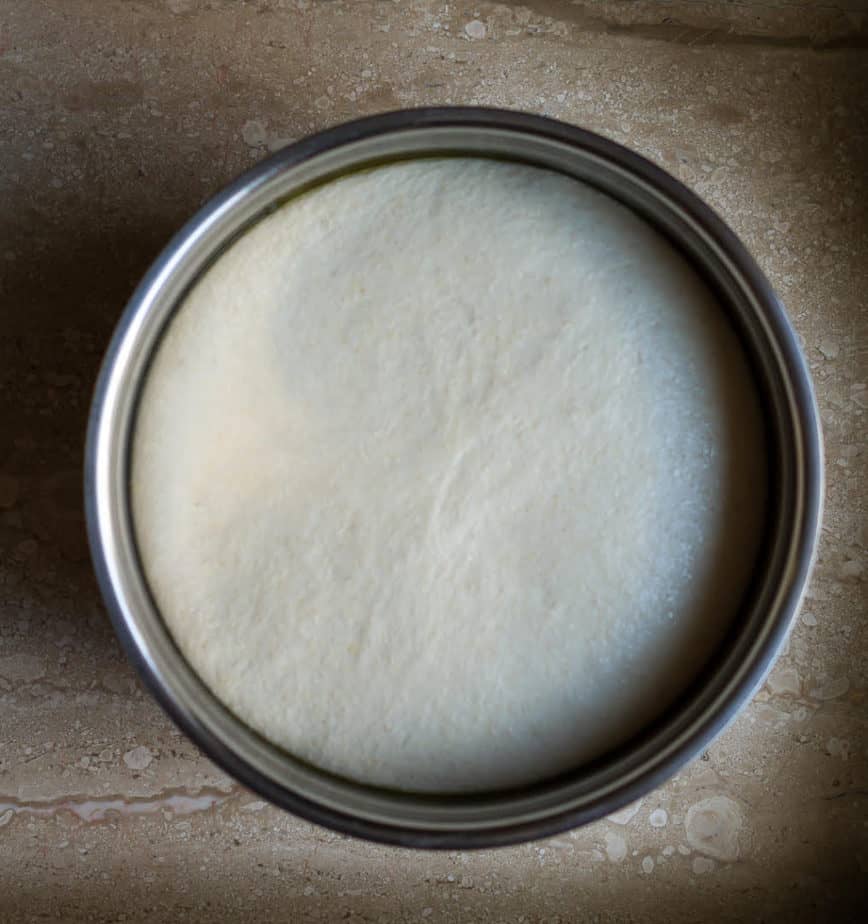
As I said, it’s cold here, so it took a couple of hours for the dough to rise. Yours may take less.
The second kneading
- When the dough is doubled in size, it’s ready for the second kneading.
- Dust your prep area with flour.
- Turn the bowl containing the dough upside down and let the dough fall on the surface.
- Knead it once again, just for a few minutes.
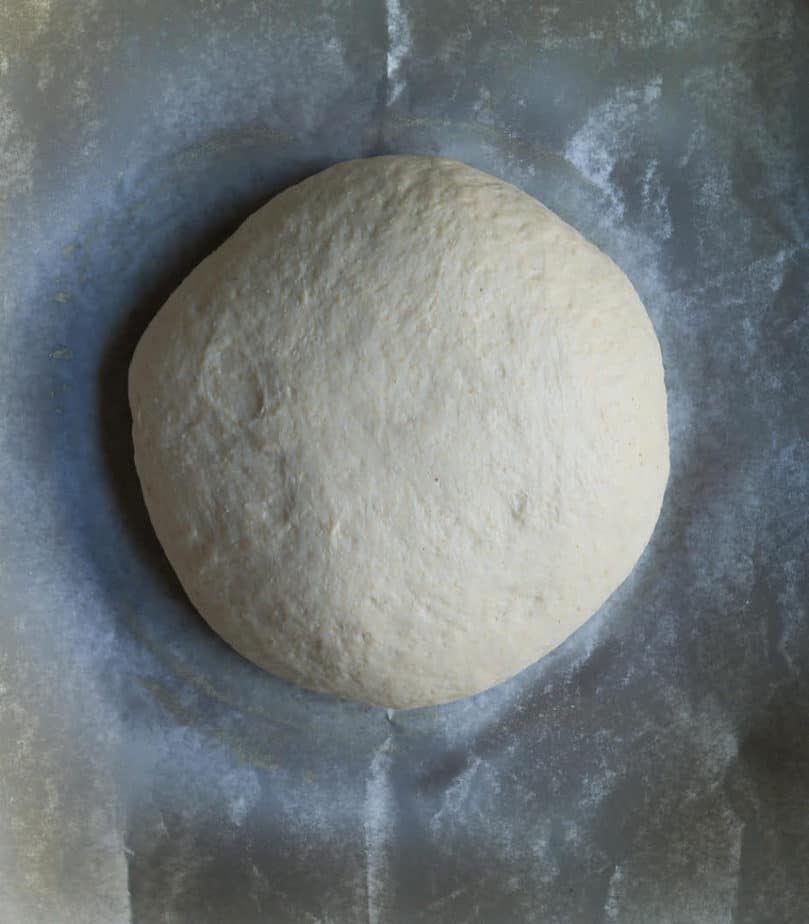
As you knead, shape it any way you prefer. I opted for a ball.
The second proofing
- Place the shaped dough on a parchment-lined tray.
- Cover it with a tea towel for one last time.
- Let it rise for 45 minutes, until puffy.
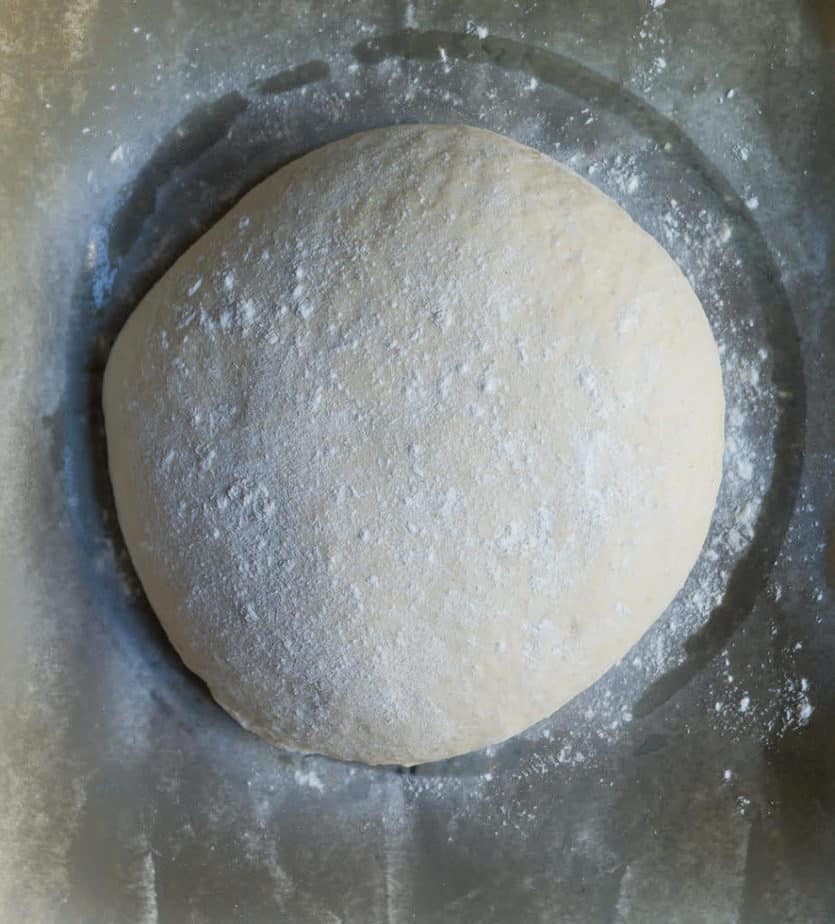
If your kitchen is warmer, the second proof may take as little as 30 minutes.
Quick tip:
While the bread second proofs, preheat the oven at the highest setting possible. I crank it up to 250°C for a long time because I’ve realized that you need a scorching hot oven for a really good bread loaf.
Baking the sourdough discard bread
- Once the bread is puffy, it is ready to be baked.
- Sprinkle the dough top with some flour.
- Then using a sharp knife, score the bread.
- Immediately slide it into the oven, lessen the temperature to 230 C, and bake for 30 to 40 minutes.
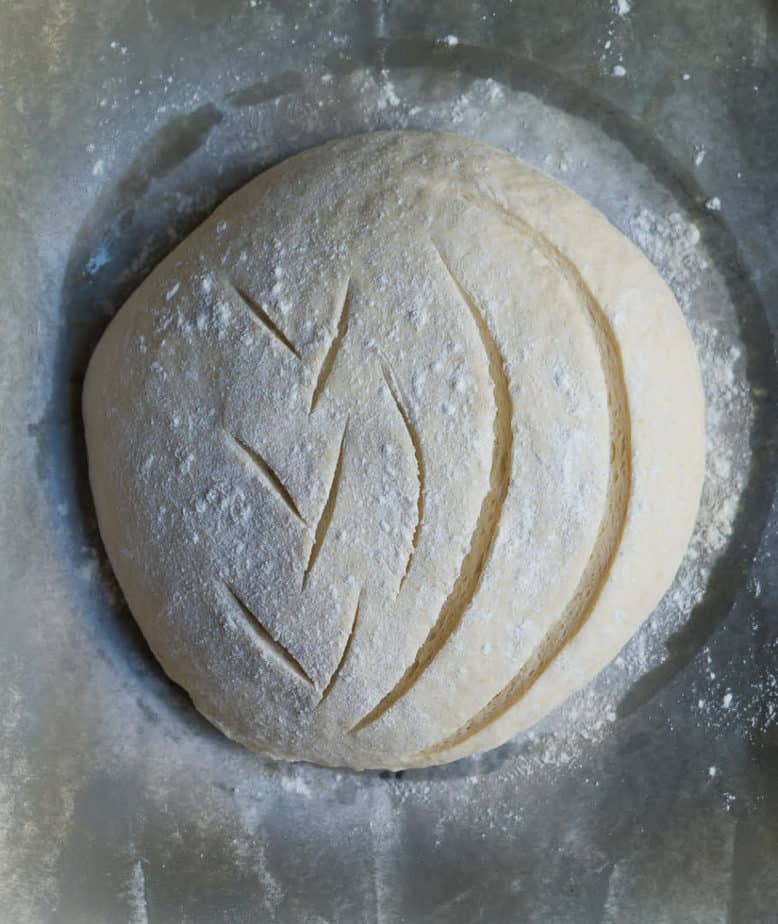
Why score the bread?
Slashing the dough allows the bread more room to expand during baking, offering a great oven spring. It also makes the bread more decorative by creating a design on the surface.
What is an oven spring?
It’s the sudden rise in volume of the dough in the first few minutes of baking. The loaf gets puffy because of oven springs. It also gives the crust a crusty texture (for the lack of a better word) as opposed to the soft crust of everyday bread.
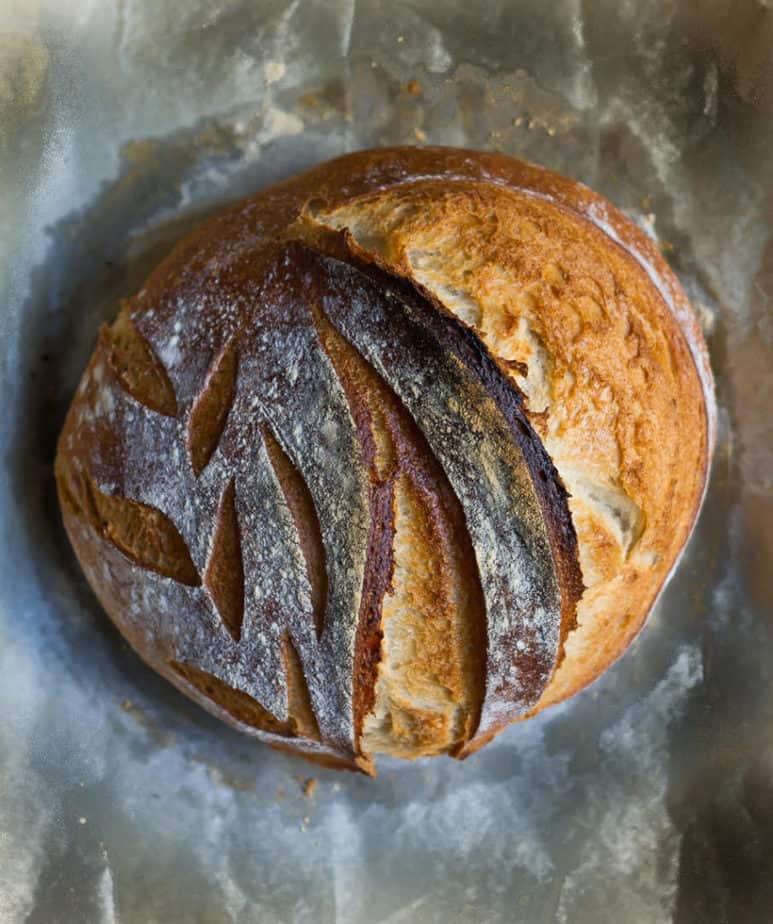
Quick tip:
To get the oven spring, set a tray right underneath the rack where you’d place the dough for baking. Pour a cup of water into the tray as soon as you slide the tray with the dough to bake. The water will turn into steam, creating moisture inside the oven that causes the dough to inflate.
Serving the easy sourdough discard bread
This is the hardest part of the recipe. You have to wait patiently for the bread to cool down before you can slice and serve it, all the while the tempting aroma infuses the kitchen.
If you dig in too soon, the whole structure will collapse. So, it’s imperative that you give at least one and a half hours to cool.
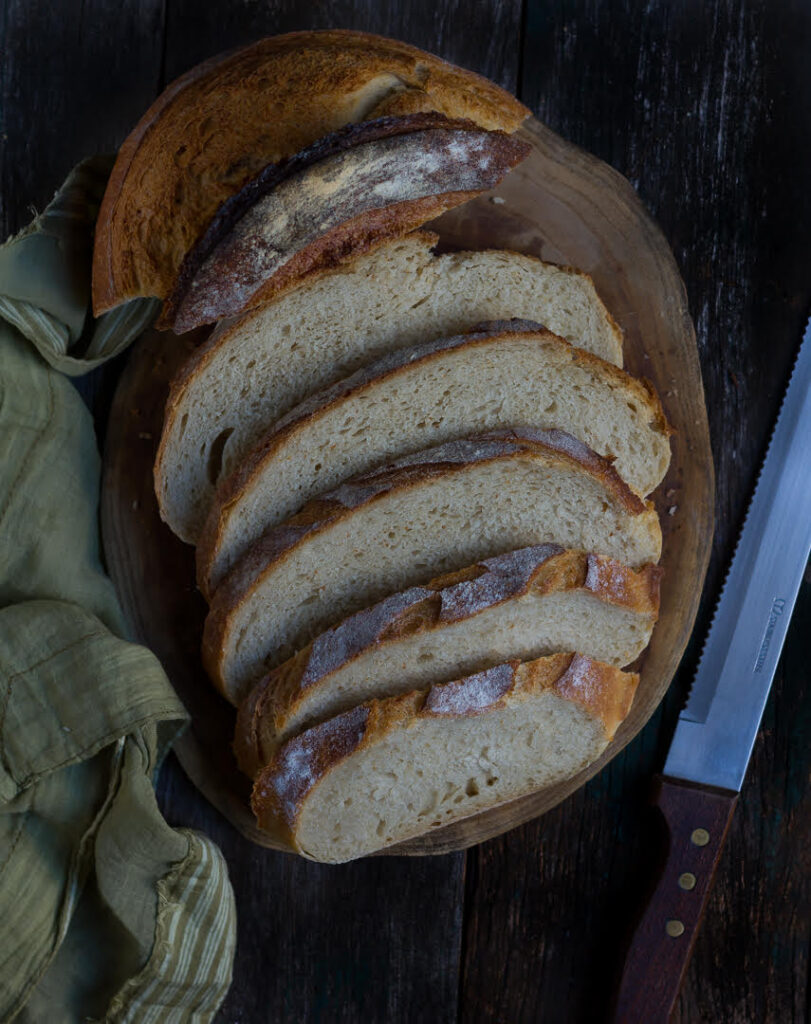
Variations of the easy sourdough discard bread
I used a blend of whole wheat and all-purpose flour this time. But I have baked the bread with 100% whole wheat and 100% all-purpose flour too.
Choose any of the options. They all work amazingly. Just remember to adjust the liquids because this dough is meant to be well-hydrated and moist.
How to add flavor to sourdough discard bread?
Adding mix-ins is the easiest way to pack in flavors into the loaf, and this recipe is so versatile that you have endless choices.
After the first proof, fuse the dough with:
- Cinnamon and raisins
- Dried or fresh herbs
- Sun-dried tomatoes
- Chopped walnuts
- Shredded cheese
- Chocolate chips
- Sliced olives
- Any seeds
Other recipes that use sourdough starter discard
- Sourdough oatmeal walnut cookies
- Plum apricot sourdough galette
- Banana cinnamon pancakes
- Sourdough crackers
- Sourdough waffles
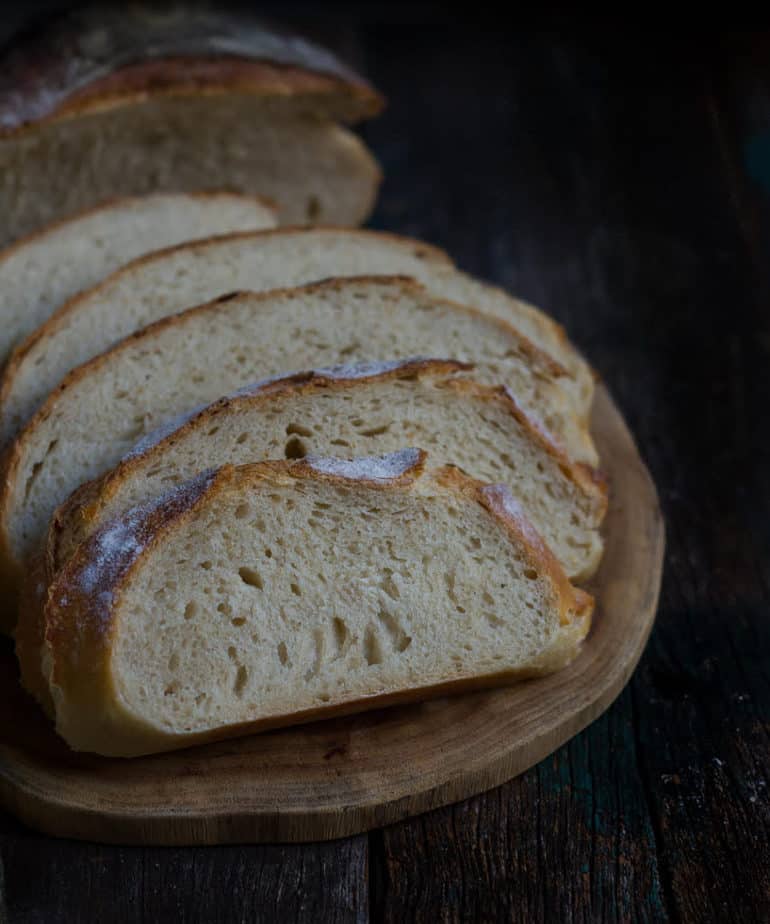
The process is much faster when the house is warm. For me, it took longer due to the lack of central heating and biting cold temperatures.
Nevertheless, the sourdough discard bread recipe is fuss-free and gratifyingly rewarding. Give it a whirl; you will not be disappointed.
Recipe
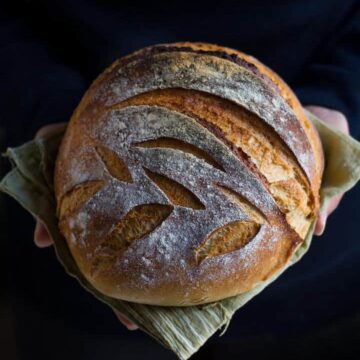
Easy Sourdough Discard Bread
Ingredients
- 1.5 cups All Purpose Flour
- 1.5 cups Whole Wheat Flour
- 1 1/4 tsp Salt
- 1/3 cup Sourdough Discard
- 1 1/2 tsp Yeast
- 1 1/4 cups Water
- 1 tsp Sugar
Instructions
- In a small bowl, dissolve yeast and sugar with the water. Let stand for 10 minutes until foamy.
- In a large bowl, mix the flours and salt.
- Make a well in the center and add sourdough discard and the bubbly yeast mixture.
- Mix well with a fork or your hand till a rough scraggy dough forms.
- Place the scraggy dough on a well-floured surface and begin kneading. The trick is to push the dough away from you using the heel of your hand. Bring the upper half over the lower half with your fingers, folding the dough.Then again, push it outwards with your heels. Repeat this process for a good 8 to 10 minutes till you have a smooth, supple dough.
- When the dough is elastic and soft, shape it into a ball and place it in a lightly greased bowl. Cover it with a tea towel or cling wrap. Let this sit for 2 - 3 hours. or until the dough is doubled in size.
- When the dough is doubled in size, it’s ready for the second kneading. Dust your prep area with flour. Turn the bowl containing the dough upside down and let the dough fall on the surface. Knead it gently, just for 2 minutes.
- Shape it any way you prefer - this can be baguette-shaped or a ball like I've done.
- Place the shaped dough on a parchment-lined tray. Cover it with a tea towel for one last time. Let it rise for 45 minutes. Or until puffy.
- While the dough is undergoing a second proof, preheat your oven at 250C.
Preparing the Bread for Baking
- Once the bread is puffy, it is ready to be baked. Sprinkle the dough top with some flour. Then using a sharp knife, score the bread. Immediately slide it into the oven, lessen the temperature to 230 C, and bake for 35 to 40 minutes.
- The bread will be done when the top is golden brown and the bottom sounds hollow when you tap it.
- Quick tip:To get a crunchy crust, set a tray underneath the rack where you’d place the tray with dough for baking. Pour a cup of water into the tray, as soon as you slide the baking tray in. Shut the oven door quickly. This creates moisture in the oven that is essential for the bread to rise and for the crackly crust!
- Let the bread cool completely before cutting and serving.
Notes
Nutrition







I’m so excited to try this bread. Can this be baked in a loaf pan or is it best to shape it like a sourdough loaf?
Natasha Author
Hi Linda, somehow I have never baked it in a loaf pan! I've baked it in round shape or like a baguette, so I feel baking it in a sourdough loaf shape may work better for this 🙂 Happy baking! xx
for some reason this dough wouldn't mix and was super wet. It was so messy that I couldn't knead it. I have baked breads and sourdoughs for YEARS and this was the only one I have ever had trouble with. I added two more cups of flour and it was still a mess.
Natasha Author
Oh no! I'm so sorry this turned out be a mess for you. Thank you very much for trying it out though. I really appreciate it 🙏🏻
Jennie
Hi Sarah - I am making this bread right now and was using the calculator to multiply and make several loaves. THAT is where the problem is! The water calculation for both 2 and 3 loaves is WAY off, and is causing me to waste all my starter and lots of flour. 🙁 I wish I would have done a mental calculation before getting started - I will now have no bread to share at a community event tomorrow. Lesson learned! I'm sure this is a great recipe otherwies -and I look forward to trying again sometime soon when I have more discard. But I will not rely on the calculating tool! All other measurements were correctly multiplied - just the water, which instead of coming to 2.5 for 2 loaves, becomes 5.5; for 3 loaves, it should become 3.75 but becomes 8.25!! That is WAY off, and I should have noticed but did not. 🙁
Natasha Author
Hi Jennie, first of all thank you very much for trying out the recipe and for being so kind in your feedback. I checked the recipe multiplier and noticed that the cup measurements for water are indeed off. But they are perfectly fine for metric measurements!
I'll see if there is any way to fix this issue as this is done automatically, based on the measurements I write. But going forward, I will make sure I'll check the multiplier measurements to ensure they are correct.
I'm so sorry that your ingredients went to waste and there was no bread for your event! I hope you will be able to come back to this recipe sometime and will enjoy it!🙏🏻
I never grew up eating whole wheat and really struggle now with how it tastes. Not only could I not tell it had whole wheat in it but it was probably one of the best loaves of bread I’ve ever made. This will be my new go to recipe.
Natasha Author
Thank you so much for your wonderful feedback, Emily. This made me so happy! Really appreciate your support and kindness. xx
Does it have to be baked right away? I tripled the recipe and not sure if it’s best to refrigerate dough or freeze baked loaves. Yikes!
Natasha Author
Hi Jackie, so this dough can be baked right away after the 2nd proofing. You can always freeze baked loaves. Hope this helps. 🙂
Hi, What do you mean by sourdough discard? I have sourdough starter in the fridge, would that do? Can't wait to try this. X
Natasha Author
Hi Malka, yes, you can certainly use your sourdough starter. With discard I mean, the part of starter one takes out when feeding the starter.Hope this helps:)
This is a beautiful loaf! I cooked it in my Dutch oven(30 min lid on, 15 min lid off) and it turned out perfectly! For the 45 min rest time before the bake, I placed my dough ball in my banneton basket for an even nicer shape. Thanks so much for this recipe!
Natasha Author
How wonderful, Rebecca! Thank you so much for trying the recipe and sharing your lovely feedback. I so appreciate it. xx
P.S I need to buy a Dutch oven just so I can make breads in it:)
Malka
Hi!
You don't need to spend money on a Dutch oven really, ant oven proof dish with a good lid will do the job. I use casserol dishes Pyrex or clay or metal, works well.
Tashi, you are fantastic! I made your BAKLAVA CHEESECAKE last night, INCREDIBLE RECIPE!!! 👏👏👏👏 Great success, probably best ever cake. You are now my chosen recipe search. Thanks!
Natasha Author
Thank you so so much for your helpful tip and the most wonderful feedback! You really made my day. So grateful for your support. xx